

Introduction
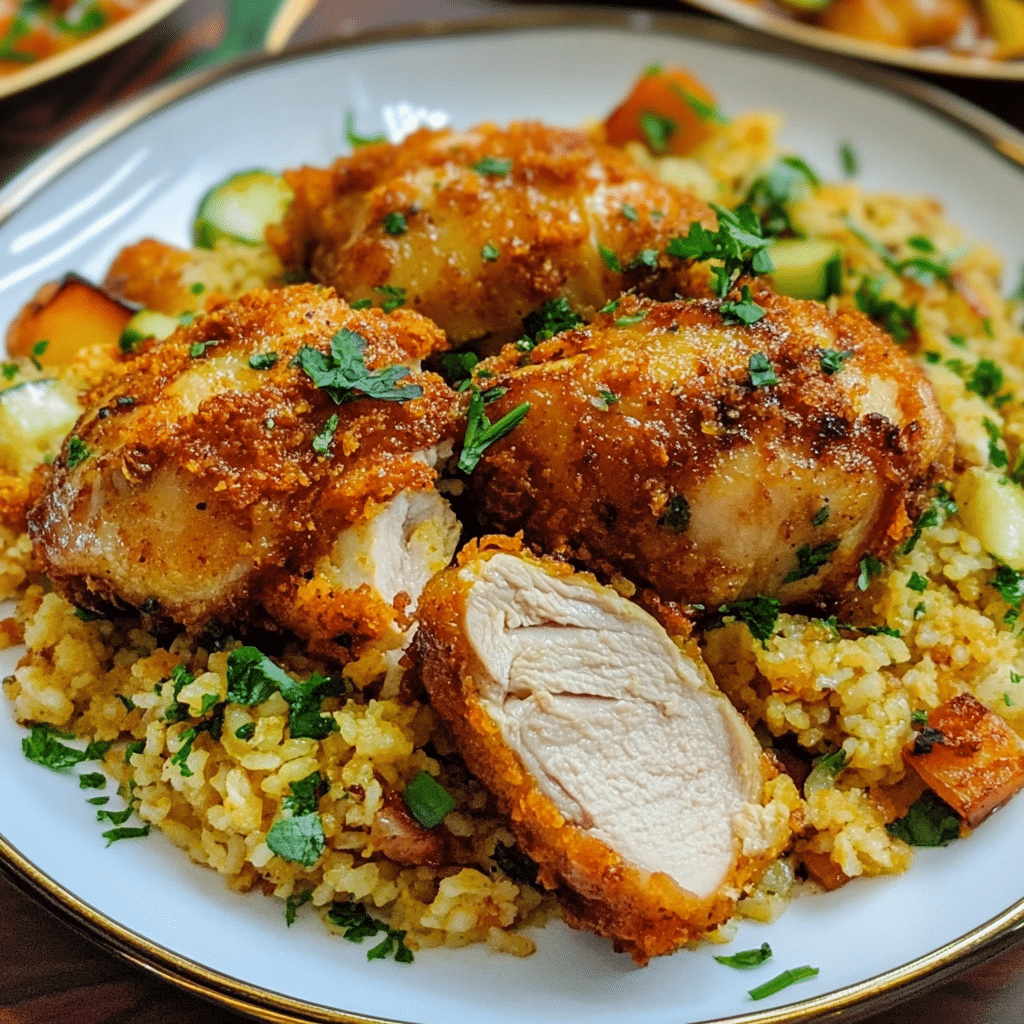
Classic Chicken Kiev is a rich, indulgent dish that has become a beloved staple in many kitchens worldwide. This dish features tender chicken breasts that are stuffed with a flavorful, herbed butter and then coated in breadcrumbs before being fried to a golden, crispy perfection. With its crisp, golden exterior and melting, garlicky interior, Chicken Kiev is a true treat for the senses, offering a combination of textures and flavors that is irresistible.
Originating in Ukraine and made famous in the West, Chicken Kiev has earned its place in the culinary hall of fame due to its deliciously buttery filling and impressive presentation. Perfect for special occasions, holiday dinners, or a fancy weeknight meal, this recipe offers a step-by-step guide to making Chicken Kiev at home. Whether you’re a beginner or an experienced cook, this dish will elevate any meal and impress your guests.
Why You’ll Love Classic Chicken Kiev
- Deliciously Flavorful: The combination of seasoned butter, garlic, fresh herbs, and tender chicken is a match made in heaven. Each bite delivers a burst of rich, savory flavors, especially when the buttery filling melts out as you cut into the chicken.
- Impressive and Elegant: Chicken Kiev is a showstopper on the dinner table. It’s a dish that looks and tastes gourmet, making it perfect for celebrations, holidays, or a romantic dinner.
- Crunchy and Tender Texture: The chicken is crispy on the outside thanks to the breadcrumb coating, while the inside remains juicy and tender. The herb-infused butter adds a luxurious richness to the dish.
- Easy to Prepare at Home: Though it might sound like a restaurant-quality dish, Chicken Kiev can be surprisingly easy to make at home. With just a few simple ingredients and techniques, you can prepare this classic dish in your own kitchen.
- Customizable: While the traditional recipe uses garlic, parsley, and butter, you can easily experiment with different herbs or spices to create a filling that suits your taste preferences.
Preparation and Cooking Time
- Total Time: 1 hour 15 minutes
- Preparation Time: 30 minutes
- Cooking Time: 25-30 minutes
- Servings: 4 servings
- Calories per Serving: Approximately 400-500 calories per serving, depending on ingredients and portion sizes.
Nutrition Facts (Per Serving)
- Calories: 400-500 kcal
- Fat: 25-30g
- Carbohydrates: 15-20g
- Protein: 35-40g
- Fiber: 1-2g
- Sugar: 1-2g
Ingredients
For the Chicken Kiev:
- 4 boneless, skinless chicken breasts
- 1 cup all-purpose flour (for dredging)
- 2 large eggs, beaten
- 1 ½ cups breadcrumbs (preferably panko for extra crunch)
- Salt and freshly ground black pepper, to taste
- Vegetable oil (for frying)
For the Herb Butter Filling:
- ½ cup unsalted butter, softened
- 2 tablespoons fresh parsley, finely chopped
- 2 tablespoons fresh dill, finely chopped (optional, but highly recommended)
- 2 cloves garlic, minced
- 1 teaspoon lemon zest
- 1 tablespoon lemon juice
- Salt and freshly ground black pepper, to taste
Step-by-Step Instructions
1. Prepare the Herb Butter Filling
Start by making the herbed butter that will be the star of this dish. In a medium-sized mixing bowl, combine the softened butter, chopped parsley, dill (if using), minced garlic, lemon zest, and lemon juice. Season with salt and pepper to taste. Use a fork or a spoon to mix everything together until the butter is smooth and the herbs and garlic are evenly distributed.
Once the butter mixture is well combined, place it on a piece of plastic wrap or parchment paper. Roll the butter into a log shape, ensuring that it is compact and firm. Chill the herb butter in the refrigerator for at least 30 minutes, or until it has hardened. This makes it easier to stuff into the chicken breasts later.
2. Prepare the Chicken Breasts
While the herb butter is chilling, prepare the chicken breasts. If necessary, use a sharp knife to carefully cut a pocket into each chicken breast. The pocket should be deep enough to hold a generous portion of the herb butter, but be careful not to cut all the way through. You want to create a pouch where the butter will melt inside the chicken while it cooks.
Once the chicken breasts are prepared, season them with salt and pepper on both sides. This ensures that the chicken itself is well-seasoned before frying.
3. Stuff the Chicken Breasts with Herb Butter
After the herb butter has chilled and firmed up, cut the butter log into four equal portions, one for each chicken breast. Carefully stuff each chicken breast with a portion of the chilled herb butter, ensuring the butter is tucked neatly inside the pocket. Use toothpicks to secure the opening of the chicken if necessary. This will help prevent the butter from leaking out while cooking.
Once the chicken breasts are stuffed, set them aside to prepare for dredging and frying.
4. Dredge the Chicken Breasts
Now it’s time to coat the chicken breasts with breadcrumbs. Set up a dredging station with three shallow bowls: one for flour, one for beaten eggs, and one for breadcrumbs. Lightly season the flour with a pinch of salt and pepper. Dredge each stuffed chicken breast in the flour, ensuring it is fully coated. Next, dip the floured chicken into the beaten eggs, making sure it is evenly covered. Finally, coat the chicken with breadcrumbs, pressing down gently to ensure an even coating.
Repeat this process with each chicken breast. The breadcrumbs will form a crispy, golden exterior once fried, giving you the perfect texture contrast with the tender, buttery inside.
5. Fry the Chicken Kiev
Heat a generous amount of vegetable oil in a large skillet over medium-high heat. The oil should be hot enough that the chicken sizzles when added but not so hot that it burns the breadcrumbs. Once the oil is ready, carefully add the breaded chicken breasts to the pan, making sure not to overcrowd the skillet. You may need to cook the chicken in batches.
Fry the chicken for about 5-6 minutes on each side, or until the breadcrumbs are golden brown and crispy. Use tongs to turn the chicken, being careful not to let the butter leak out of the pockets. Once the chicken is golden brown on both sides, reduce the heat to medium and continue cooking the chicken for an additional 5-7 minutes, allowing the chicken to cook through without burning the breadcrumbs.
Check the internal temperature of the chicken using a meat thermometer. It should read 165°F (74°C) to ensure it is fully cooked. If the chicken is golden but not fully cooked inside, you can transfer it to a preheated oven at 350°F (175°C) for 5-10 minutes to finish cooking.
6. Drain and Serve the Chicken Kiev
Once the chicken is fully cooked, remove it from the skillet and place it on a plate lined with paper towels to drain any excess oil. This helps keep the coating crispy.
Serve the Chicken Kiev immediately while it is still hot, ensuring that the herb butter melts out when cut into. You can remove the toothpicks before serving, and garnish the chicken with a few sprigs of fresh parsley or dill for an elegant touch.
Tips for Perfect Classic Chicken Kiev
- Use Fresh Herbs: Fresh parsley and dill are essential for the authentic flavor of Chicken Kiev. Dried herbs won’t provide the same bright, fresh taste, so opt for fresh herbs whenever possible.
- Chill the Butter: Make sure the herb butter is firm and chilled before stuffing it into the chicken breasts. This prevents it from melting too quickly during cooking and ensures that the chicken stays juicy.
- Don’t Overcrowd the Pan: When frying the chicken, avoid overcrowding the skillet. This can lower the temperature of the oil and result in uneven cooking. Fry the chicken in batches if necessary.
- Test for Doneness: Use a meat thermometer to check that the chicken has reached an internal temperature of 165°F (74°C). This ensures that the chicken is fully cooked without being overdone.
- Customize the Herb Butter: While the classic recipe uses parsley, dill, and garlic, you can customize the herb butter to your taste. Try adding thyme, chives, or tarragon for a unique twist.
- Serve with a Side: Chicken Kiev is rich and indulgent, so it pairs well with lighter sides like a fresh green salad, roasted vegetables, or mashed potatoes.
Variations of Classic Chicken Kiev
- Chicken Kiev with Cheese: Add grated Parmesan or mozzarella to the herb butter mixture for a cheesy, creamy filling. This variation adds an extra layer of richness to the dish.
- Spicy Chicken Kiev: For a spicy kick, add a teaspoon of chili flakes or a dash of hot sauce to the herb butter. This creates a more complex flavor profile and gives the dish a bit of heat.
- Vegetarian Chicken Kiev: For a vegetarian version of this dish, substitute the chicken with large, hearty mushrooms like portobello mushrooms. The herb butter will complement the earthy flavor of the mushrooms beautifully.
- Stuffed Chicken Kiev: In addition to the herb butter, you can stuff the chicken with other ingredients like sautéed spinach, mushrooms, or even sun-dried tomatoes for a more elaborate version of the dish.
Storage and Shelf Life
Chicken Kiev is best enjoyed fresh, but you can store leftovers in the refrigerator for up to 3 days. Place the chicken in an airtight container to keep it from drying out. When reheating, you can either use a microwave or reheat the chicken in a skillet over low heat to avoid losing the crispy exterior.
If you have leftover herb butter, it can be stored in the fridge for up to 1 week. You can also freeze the butter for longer storage. Simply roll the butter in plastic wrap or parchment paper and freeze it for up to 3 months.
Side Dishes and Pairings for Classic Chicken Kiev
Pair your Chicken Kiev with a variety of delicious sides to create a complete and balanced meal:
- Mashed Potatoes: Creamy mashed potatoes are a classic side for Chicken Kiev. Their smooth, buttery texture complements the richness of the chicken perfectly.
- Roasted Vegetables: Roasted vegetables such as carrots, Brussels sprouts, or asparagus add a healthy and flavorful contrast to the richness of the chicken.
- Green Salad: A simple green salad with a tangy vinaigrette helps balance out the richness of the Chicken Kiev, providing a refreshing contrast.
- Rice Pilaf: A light, flavorful rice pilaf can be a great side dish to soak up any extra melted butter from the chicken.
- Garlic Bread: For an extra indulgent meal, serve Chicken Kiev with garlic bread for a crunchy, garlicky addition.

Classic Chicken Kiev Recipe
- Total Time: 1 hour and 15 minutes
Description
A golden, crispy breaded chicken breast filled with a rich, garlicky butter and herbs. This elegant dish is both tender and flavorful, offering a perfect blend of crispy exterior and melt-in-your-mouth filling.
Ingredients
For the Chicken Kiev:
- 4 boneless, skinless chicken breasts
- 1 cup all-purpose flour (for dredging)
- 2 large eggs, beaten
- 1 ½ cups breadcrumbs (preferably panko for extra crunch)
- Salt and freshly ground black pepper, to taste
- Vegetable oil (for frying)
For the Herb Butter Filling:
- ½ cup unsalted butter, softened
- 2 tablespoons fresh parsley, finely chopped
- 2 tablespoons fresh dill, finely chopped (optional, but highly recommended)
- 2 cloves garlic, minced
- 1 teaspoon lemon zest
- 1 tablespoon lemon juice
- Salt and freshly ground black pepper, to taste
Instructions
1. Prepare the Herb Butter Filling
Start by making the herbed butter that will be the star of this dish. In a medium-sized mixing bowl, combine the softened butter, chopped parsley, dill (if using), minced garlic, lemon zest, and lemon juice. Season with salt and pepper to taste. Use a fork or a spoon to mix everything together until the butter is smooth and the herbs and garlic are evenly distributed.
Once the butter mixture is well combined, place it on a piece of plastic wrap or parchment paper. Roll the butter into a log shape, ensuring that it is compact and firm. Chill the herb butter in the refrigerator for at least 30 minutes, or until it has hardened. This makes it easier to stuff into the chicken breasts later.
2. Prepare the Chicken Breasts
While the herb butter is chilling, prepare the chicken breasts. If necessary, use a sharp knife to carefully cut a pocket into each chicken breast. The pocket should be deep enough to hold a generous portion of the herb butter, but be careful not to cut all the way through. You want to create a pouch where the butter will melt inside the chicken while it cooks.
Once the chicken breasts are prepared, season them with salt and pepper on both sides. This ensures that the chicken itself is well-seasoned before frying.
3. Stuff the Chicken Breasts with Herb Butter
After the herb butter has chilled and firmed up, cut the butter log into four equal portions, one for each chicken breast. Carefully stuff each chicken breast with a portion of the chilled herb butter, ensuring the butter is tucked neatly inside the pocket. Use toothpicks to secure the opening of the chicken if necessary. This will help prevent the butter from leaking out while cooking.
Once the chicken breasts are stuffed, set them aside to prepare for dredging and frying.
4. Dredge the Chicken Breasts
Now it’s time to coat the chicken breasts with breadcrumbs. Set up a dredging station with three shallow bowls: one for flour, one for beaten eggs, and one for breadcrumbs. Lightly season the flour with a pinch of salt and pepper. Dredge each stuffed chicken breast in the flour, ensuring it is fully coated. Next, dip the floured chicken into the beaten eggs, making sure it is evenly covered. Finally, coat the chicken with breadcrumbs, pressing down gently to ensure an even coating.
Repeat this process with each chicken breast. The breadcrumbs will form a crispy, golden exterior once fried, giving you the perfect texture contrast with the tender, buttery inside.
5. Fry the Chicken Kiev
Heat a generous amount of vegetable oil in a large skillet over medium-high heat. The oil should be hot enough that the chicken sizzles when added but not so hot that it burns the breadcrumbs. Once the oil is ready, carefully add the breaded chicken breasts to the pan, making sure not to overcrowd the skillet. You may need to cook the chicken in batches.
Fry the chicken for about 5-6 minutes on each side, or until the breadcrumbs are golden brown and crispy. Use tongs to turn the chicken, being careful not to let the butter leak out of the pockets. Once the chicken is golden brown on both sides, reduce the heat to medium and continue cooking the chicken for an additional 5-7 minutes, allowing the chicken to cook through without burning the breadcrumbs.
Check the internal temperature of the chicken using a meat thermometer. It should read 165°F (74°C) to ensure it is fully cooked. If the chicken is golden but not fully cooked inside, you can transfer it to a preheated oven at 350°F (175°C) for 5-10 minutes to finish cooking.
6. Drain and Serve the Chicken Kiev
Once the chicken is fully cooked, remove it from the skillet and place it on a plate lined with paper towels to drain any excess oil. This helps keep the coating crispy.
Serve the Chicken Kiev immediately while it is still hot, ensuring that the herb butter melts out when cut into. You can remove the toothpicks before serving, and garnish the chicken with a few sprigs of fresh parsley or dill for an elegant touch.
- Prep Time: 30 minutes
- Cook Time: 25-30 minutes
Nutrition
- Calories: 400-500 kcal
- Fat: 25-30g
- Carbohydrates: 15-20g
- Protein: 35-40g
Conclusion
Classic Chicken Kiev is a dish that never fails to impress. With its crispy exterior, tender chicken, and rich, herbed butter filling, it’s a meal that’s perfect for any special occasion or weeknight dinner. Whether you follow the traditional recipe or experiment with variations, this dish is sure to become a favorite in your culinary repertoire. With easy-to-follow instructions and a little bit of patience, you can enjoy the restaurant-quality experience of Chicken Kiev in the comfort of your own home. Enjoy every bite of this decadent, flavorful dish!


