
Introduction
Crinkle Cookies are a delightful holiday classic that never fail to impress with their signature crackled appearance and irresistible taste. These cookies offer a perfect combination of a slightly crisp exterior and a soft, chewy interior, making each bite a satisfying experience. Whether enjoyed during the festive season or as a treat throughout the year, Crinkle Cookies are a beloved dessert for many.
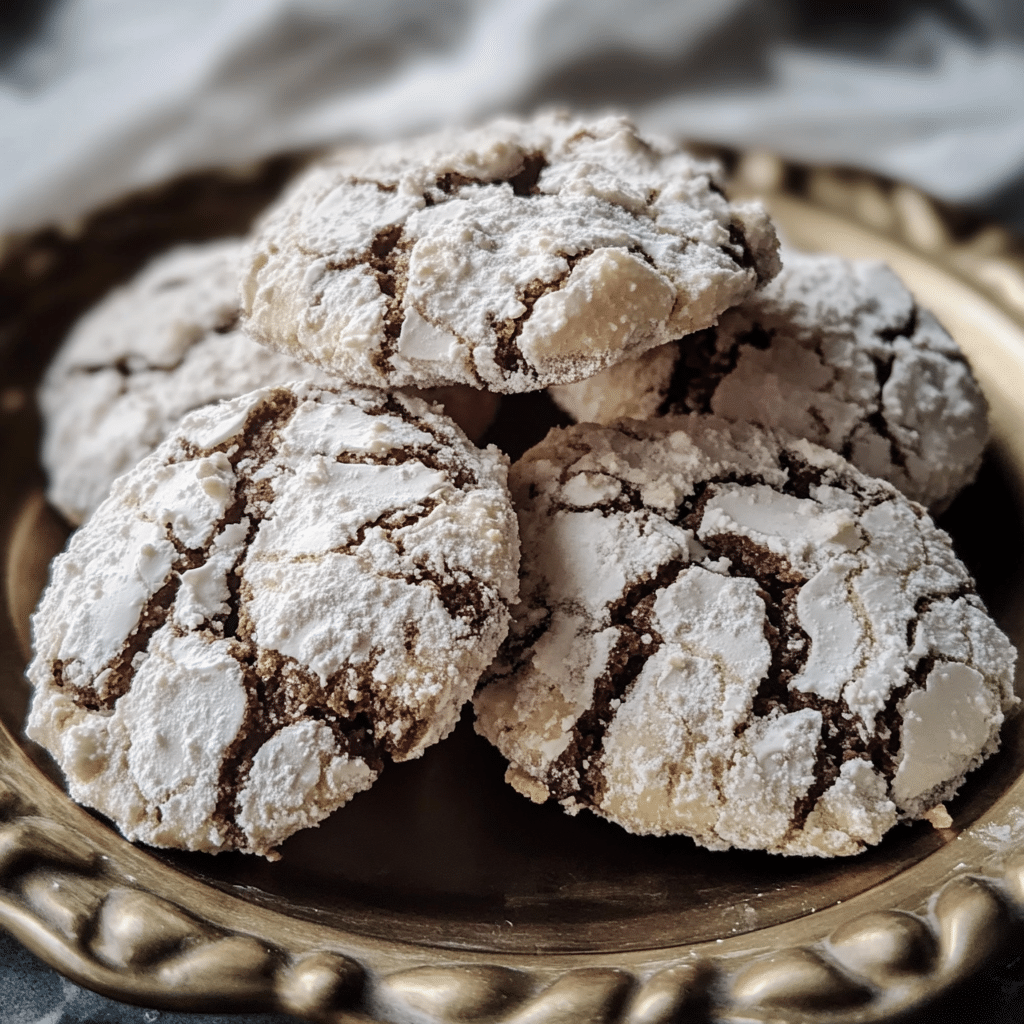
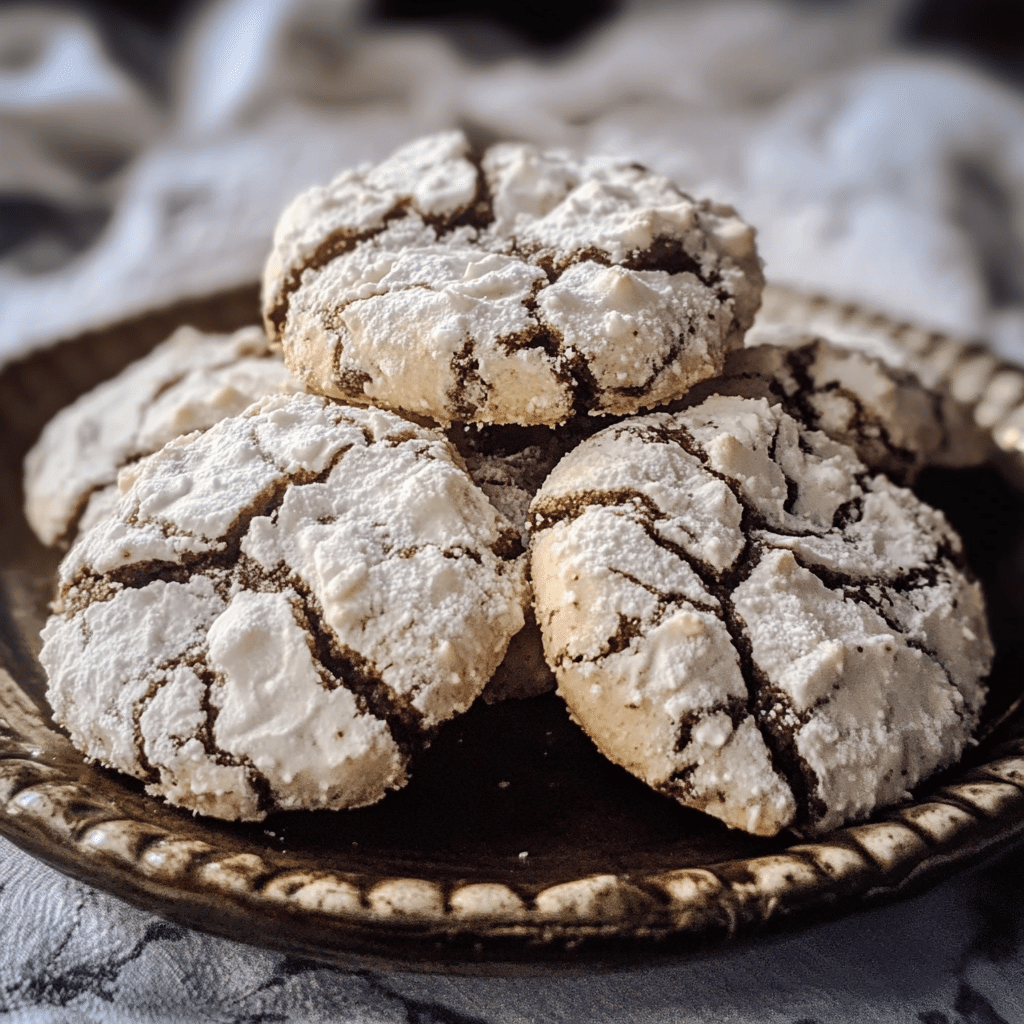
The magic of Crinkle Cookies lies in the beautiful crinkle effect they develop while baking. As the dough bakes, it expands, causing the surface to crack and form a striking pattern, which is then dusted with powdered sugar. The result is a visually appealing cookie that tastes as good as it looks. With a touch of chocolatey richness or a burst of citrus, these cookies are adaptable to a variety of flavors, perfect for holiday gifting, or sharing with family and friends.
In this guide, we’ll take you through the step-by-step process of making Crinkle Cookies, offer tips for achieving the best texture, and suggest some fun variations and ways to store your cookies. Get ready to bake a batch of these delicious cookies that will quickly become a holiday favorite!
Why You’ll Love Crinkle Cookies
A Delightful Texture Contrast
One of the best parts of Crinkle Cookies is their texture. The outside is lightly crisp and sugary, while the inside remains soft, chewy, and almost brownie-like. This contrast creates a satisfying bite, making them hard to resist.
Simple Yet Elegant
Crinkle Cookies are not only easy to make, but their appearance is also quite striking. The cracked, powdered-sugar-coated surface adds an elegant touch to these otherwise simple cookies. Despite their beauty, the dough comes together in no time, and the cookies bake in just a few minutes.
Versatile Flavor
While classic Crinkle Cookies are often made with a rich chocolate base, they can be customized to suit your taste. Add a little zest with orange or lemon, swap in different flavored extracts, or incorporate various mix-ins like nuts or candies. You can make this recipe your own!
Perfect for Sharing and Gifting
Crinkle Cookies make wonderful gifts. Their festive, crinkled appearance and delicious flavor make them a standout at holiday gatherings. Whether you’re baking for a party or packaging them for a friend, these cookies will be the highlight of any gift basket.
Preparation and Cooking Time
- Total Time: 1 hour 30 minutes
- Preparation Time: 30 minutes
- Chill Time: 30 minutes
- Cooking Time: 10-12 minutes per batch
- Servings: Approximately 24-30 cookies (adjustable)
- Calories per Serving: Approximately 120-150 calories per cookie, depending on size.
Nutrition Facts (Per Serving)
- Calories: 120-150 kcal
- Fat: 5-7g
- Carbohydrates: 18-20g
- Protein: 1g
- Fiber: 0.5g
- Sugar: 10-12g
Ingredients
- Flour: 2 ¼ cups all-purpose flour
- Baking Powder: 1 ½ teaspoons baking powder
- Cocoa Powder: ½ cup unsweetened cocoa powder
- Salt: ½ teaspoon
- Butter: ¾ cup unsalted butter, softened
- Granulated Sugar: 1 cup granulated sugar
- Eggs: 2 large eggs
- Vanilla Extract: 1 teaspoon vanilla extract
- Powdered Sugar: ½ cup powdered sugar (for rolling)
Step-by-Step Instructions
1. Prepare the Dough
Start by whisking the dry ingredients. In a medium bowl, combine the flour, baking powder, unsweetened cocoa powder, and salt. Whisk these ingredients together to ensure they are evenly distributed throughout the dough. The cocoa powder adds depth to the flavor of the cookies and helps them achieve that signature dark color.
In a large mixing bowl, cream together the softened butter and granulated sugar. Use an electric mixer or beat by hand until the mixture becomes light and fluffy. This step usually takes about 3-4 minutes. Be sure the butter is at room temperature for the best results—this will allow the butter to incorporate properly into the sugar and create a smooth, fluffy mixture.
Next, add the eggs and vanilla extract to the butter-sugar mixture. Beat on low speed until everything is well combined. The eggs will help bind the dough, while the vanilla adds a comforting aroma and flavor.
Gradually add the dry ingredients to the wet ingredients. Do this in batches, adding about half of the dry ingredients at a time. Mix until just combined—be careful not to overmix, as this can result in dense cookies. Once the dough comes together and no dry flour remains, it’s ready to chill.
2. Chill the Dough
Once the dough is mixed, cover the bowl with plastic wrap or transfer it to an airtight container. Place the dough in the refrigerator for at least 30 minutes. Chilling the dough helps it firm up and prevents the cookies from spreading too much while baking. This is an important step to ensure that your cookies hold their crinkled shape.
3. Roll the Dough
After the dough has chilled, preheat the oven to 350°F (175°C). Line two baking sheets with parchment paper or silicone baking mats to prevent the cookies from sticking.
Prepare two shallow bowls: one with powdered sugar and the other with granulated sugar. Take the chilled dough and roll it into 1-inch balls, either by hand or using a cookie scoop. Roll each dough ball first in the granulated sugar, then in the powdered sugar. The powdered sugar is key to creating the signature crinkled effect as the cookies bake.
Place the sugar-coated dough balls on the prepared baking sheets, spacing them about 2 inches apart. The cookies will spread slightly during baking, so leave enough space for them to expand.
4. Bake the Cookies
Bake the cookies in the preheated oven for 10-12 minutes. The cookies should look puffed up with cracks forming on the surface. Keep an eye on the cookies and don’t overbake them. They will continue to firm up as they cool. The edges should be set while the center remains slightly soft, ensuring that the cookies stay chewy inside.
Once the cookies are done, remove them from the oven and allow them to cool on the baking sheets for about 5 minutes. Afterward, transfer the cookies to a wire rack to cool completely.
5. Serve and Enjoy
Once the Crinkle Cookies have cooled, they are ready to be served! These cookies are perfect for holiday treats, whether enjoyed with a cup of hot chocolate, shared with friends and family, or packed up as a festive gift.
Tips for Perfect Crinkle Cookies
Chill the Dough
Be sure to chill the dough before baking. This helps the cookies maintain their shape while baking and ensures they won’t spread too much.
Don’t Overmix
While combining the dry and wet ingredients, be careful not to overmix the dough. Overmixing can cause the cookies to become tough and dense. Mix just until combined.
Roll in Powdered Sugar Generously
Coat the dough balls generously in powdered sugar. This creates the iconic crinkle effect and gives the cookies that sugary finish.
Customize the Flavor
Feel free to experiment with the flavor of your Crinkle Cookies. You can add citrus zest for a fresh twist, or try incorporating different flavored extracts like almond or hazelnut for a unique spin.
Don’t Overbake
Watch the cookies carefully as they bake. They are done when the cracks have formed, and the edges are set, but the center is still soft. The cookies will continue to cook as they cool.
Variations of Crinkle Cookies
Chocolate Crinkle Cookies
For a rich, chocolatey twist, add an extra ¼ cup of cocoa powder to the dough and make sure to roll the dough in powdered sugar before baking. The chocolate version of Crinkle Cookies is a favorite for chocolate lovers.
Lemon Crinkle Cookies
For a citrusy variation, add 1 tablespoon of lemon zest to the dough, and roll the dough balls in granulated sugar before coating them in powdered sugar. The tangy lemon flavor adds brightness to the cookie’s rich, chewy interior.
Peppermint Crinkle Cookies
Add 1 teaspoon of peppermint extract to the dough and top the cookies with crushed peppermint candy or candy canes after baking. This variation offers a refreshing, festive flavor perfect for the holiday season.
Orange Crinkle Cookies
For a refreshing flavor, replace the vanilla extract with 1 tablespoon of orange zest and ½ teaspoon of orange extract. The citrus flavor pairs wonderfully with the rich, chewy texture of these cookies.
Storage and Shelf Life
Crinkle Cookies can be stored in an airtight container at room temperature for up to 5 days. If you’d like to keep them for a longer period, store them in the freezer for up to 3 months. To freeze the cookies, place them in a single layer on a baking sheet and freeze for 1-2 hours. Then, transfer them to a freezer-safe bag or container.
To enjoy frozen cookies, simply let them thaw at room temperature for 15-20 minutes. They’ll taste just as fresh as when they were first baked.
Side Dishes That Pair Well with Crinkle Cookies
While Crinkle Cookies are perfect on their own, they can be paired with a variety of festive drinks and sides to complete your holiday experience:
- Eggnog: A rich and creamy holiday classic, eggnog complements the sweet and chocolatey flavor of Crinkle Cookies.
- Hot Chocolate: Pair with a mug of hot chocolate topped with whipped cream and marshmallows for the ultimate cozy treat.
- Vanilla Ice Cream: A warm Crinkle Cookie alongside a scoop of vanilla ice cream makes for a delicious contrast of temperatures and textures.

Crinkle Cookies
- Total Time: 1 hour 30 minutes
Description
Classic Crinkle Cookies are a sweet, soft delight with a crispy, powdered sugar-coated exterior. Made with a rich chocolate flavor, they puff up and crack beautifully as they bake, giving each cookie a unique texture. These cookies are perfect for any occasion and especially fun to share with family and friends.
Ingredients
- Flour: 2 ¼ cups all-purpose flour
- Baking Powder: 1 ½ teaspoons baking powder
- Cocoa Powder: ½ cup unsweetened cocoa powder
- Salt: ½ teaspoon
- Butter: ¾ cup unsalted butter, softened
- Granulated Sugar: 1 cup granulated sugar
- Eggs: 2 large eggs
- Vanilla Extract: 1 teaspoon vanilla extract
- Powdered Sugar: ½ cup powdered sugar (for rolling)
Instructions
1. Prepare the Dough
Start by whisking the dry ingredients. In a medium bowl, combine the flour, baking powder, unsweetened cocoa powder, and salt. Whisk these ingredients together to ensure they are evenly distributed throughout the dough. The cocoa powder adds depth to the flavor of the cookies and helps them achieve that signature dark color.
In a large mixing bowl, cream together the softened butter and granulated sugar. Use an electric mixer or beat by hand until the mixture becomes light and fluffy. This step usually takes about 3-4 minutes. Be sure the butter is at room temperature for the best results—this will allow the butter to incorporate properly into the sugar and create a smooth, fluffy mixture.
Next, add the eggs and vanilla extract to the butter-sugar mixture. Beat on low speed until everything is well combined. The eggs will help bind the dough, while the vanilla adds a comforting aroma and flavor.
Gradually add the dry ingredients to the wet ingredients. Do this in batches, adding about half of the dry ingredients at a time. Mix until just combined—be careful not to overmix, as this can result in dense cookies. Once the dough comes together and no dry flour remains, it’s ready to chill.
2. Chill the Dough
Once the dough is mixed, cover the bowl with plastic wrap or transfer it to an airtight container. Place the dough in the refrigerator for at least 30 minutes. Chilling the dough helps it firm up and prevents the cookies from spreading too much while baking. This is an important step to ensure that your cookies hold their crinkled shape.
3. Roll the Dough
After the dough has chilled, preheat the oven to 350°F (175°C). Line two baking sheets with parchment paper or silicone baking mats to prevent the cookies from sticking.
Prepare two shallow bowls: one with powdered sugar and the other with granulated sugar. Take the chilled dough and roll it into 1-inch balls, either by hand or using a cookie scoop. Roll each dough ball first in the granulated sugar, then in the powdered sugar. The powdered sugar is key to creating the signature crinkled effect as the cookies bake.
Place the sugar-coated dough balls on the prepared baking sheets, spacing them about 2 inches apart. The cookies will spread slightly during baking, so leave enough space for them to expand.
4. Bake the Cookies
Bake the cookies in the preheated oven for 10-12 minutes. The cookies should look puffed up with cracks forming on the surface. Keep an eye on the cookies and don’t overbake them. They will continue to firm up as they cool. The edges should be set while the center remains slightly soft, ensuring that the cookies stay chewy inside.
Once the cookies are done, remove them from the oven and allow them to cool on the baking sheets for about 5 minutes. Afterward, transfer the cookies to a wire rack to cool completely.
5. Serve and Enjoy
Once the Crinkle Cookies have cooled, they are ready to be served! These cookies are perfect for holiday treats, whether enjoyed with a cup of hot chocolate, shared with friends and family, or packed up as a festive gift.
- Prep Time: 30 minutes
- Chilling Time: 30 minutes
- Cook Time: 10-12 minutes
Nutrition
- Calories: 120-150 kcal
- Fat: 5-7g
- Carbohydrates: 18-20g
- Protein: 1g
Conclusion
Crinkle Cookies are a classic holiday treat that combines a chewy interior with a beautiful cracked surface. With their signature flavor and elegant appearance, these cookies are sure to be a hit at any holiday gathering. Whether you enjoy them with a cup of cocoa or share them with friends, Crinkle Cookies will add warmth and joy to your celebrations.
By following this guide, you’ll create a batch of these delicious cookies that are perfect for any occasion. Whether you’re baking for your family or gifting them to loved ones, Crinkle Cookies will be a favorite all season long. Happy baking!


