

Introduction
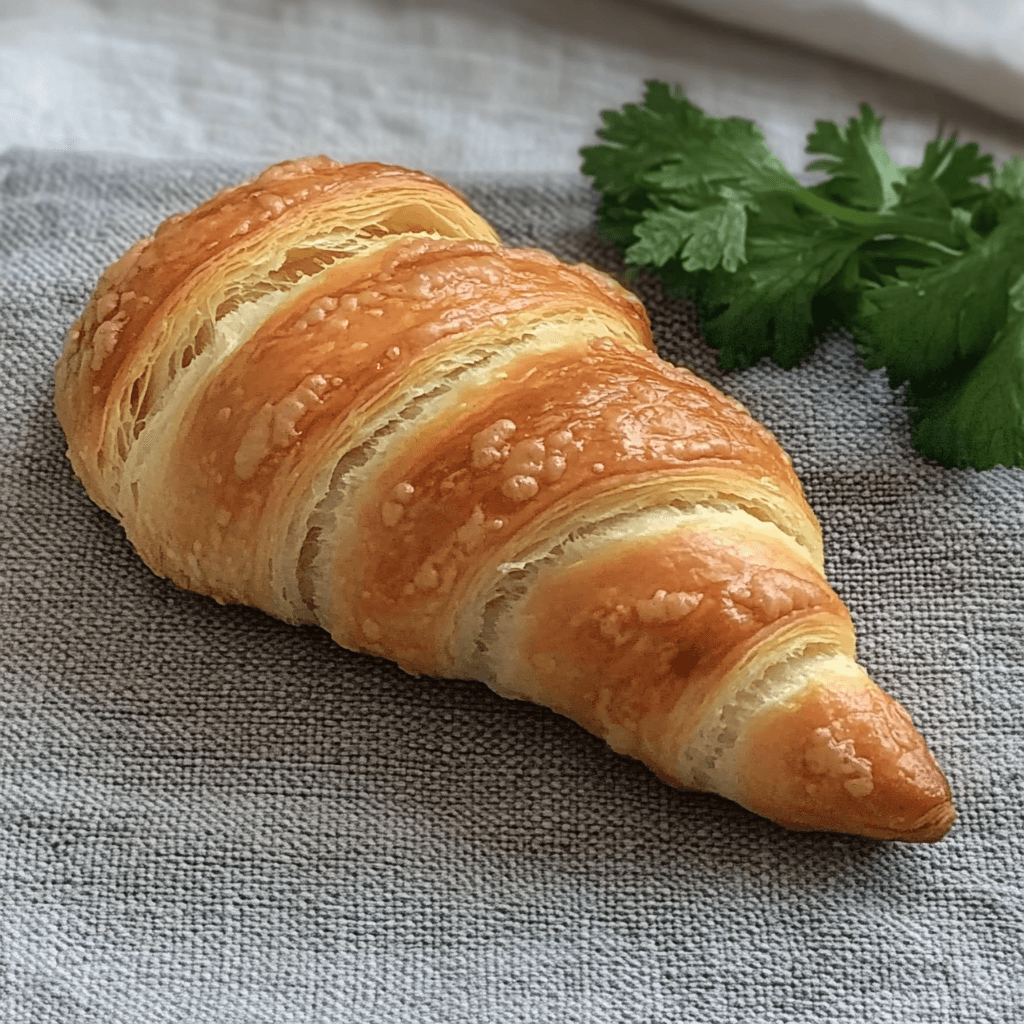
Easter Crescent Rolls are a delicious and festive twist on the classic crescent roll, perfect for holiday gatherings and celebrations. These fluffy, buttery rolls are filled with a sweet, cinnamon-sugar filling, and when baked, they puff up into golden perfection. The best part? They are shaped into a spiral, resembling a nest, which makes them not only delicious but visually stunning too. Whether you’re celebrating Easter or any special occasion, these rolls are sure to become a favorite on your holiday table.
These Easter Crescent Rolls are soft, pillowy, and bursting with flavor. The simple ingredients and easy preparation make them a go-to choice for both novice and experienced bakers. Whether served as a side dish, appetizer, or even dessert, they are sure to impress your guests with their delightful sweetness and perfect texture.
In this recipe, we’ll walk you through each step of preparing Easter Crescent Rolls, including tips for perfecting the dough, adding a fun twist with a surprise filling, and troubleshooting any challenges you may face along the way.
Why You’ll Love Easter Crescent Rolls
- Buttery and Flaky: The soft, buttery texture of the crescent rolls will melt in your mouth, while the golden crust gives you that perfect crunch.
- Festive and Fun: Shaped like little nests, these rolls make for a visually striking addition to any Easter meal or springtime gathering.
- Sweet and Spicy Filling: The cinnamon-sugar filling gives the rolls a comforting, warm flavor that will remind you of a homemade pastry.
- Easy to Make: Using store-bought crescent dough as a base, these rolls come together in a fraction of the time, making them perfect for busy holidays.
- Versatile: While Easter Crescent Rolls are ideal for holiday meals, they can be enjoyed at any time of the year, making them a year-round favorite.
Preparation and Cooking Time
- Total Time: 45 minutes
- Preparation Time: 10 minutes
- Cooking Time: 15-20 minutes
- Servings: Approximately 8 rolls
- Calories per Serving: 160-180 calories per roll, depending on portion size and specific ingredients used.
Nutrition Facts (Per Serving)
- Calories: 160-180 kcal
- Fat: 9g
- Carbohydrates: 22g
- Protein: 2g
- Fiber: 1g
- Sugar: 7g
Ingredients
For the Crescent Rolls:
- 1 can (8 oz) refrigerated crescent roll dough
- 1/4 cup unsalted butter, melted (for brushing)
For the Filling:
- 1/4 cup granulated sugar
- 1 teaspoon ground cinnamon
Glaze (Optional):
- 1/4 cup powdered sugar
- 1 teaspoon milk
- 1/4 teaspoon vanilla extract
Special Equipment
You don’t need any special equipment for this recipe, but a few common kitchen tools will make the process easier:
- Baking Sheet: For placing and baking the rolls.
- Parchment Paper or Silicone Mat: Lining your baking sheet helps prevent the rolls from sticking and ensures even baking.
- Pastry Brush: For brushing melted butter onto the rolls before baking.
- Small Bowl: For mixing the cinnamon-sugar filling.
- Whisk: To make the glaze if you choose to add it for extra sweetness.
Step-by-Step Instructions
1. Preheat the Oven and Prepare the Baking Sheet
Start by preheating your oven to 375°F (190°C). While the oven is heating, line a baking sheet with parchment paper or a silicone baking mat to make cleanup easier and prevent the rolls from sticking.
2. Prepare the Cinnamon-Sugar Filling
In a small bowl, combine the granulated sugar and ground cinnamon. Mix them together until the cinnamon is evenly distributed throughout the sugar. Set the bowl aside while you prepare the dough.
3. Prepare the Crescent Dough
Open the can of refrigerated crescent roll dough and unroll the dough onto a clean surface. You will see that the dough is pre-cut into triangles. To form the rolls, you’ll be working with these triangle pieces, which will be rolled up into a spiral shape.
4. Fill and Shape the Rolls
Take a small spoonful of the cinnamon-sugar mixture and sprinkle it evenly over the widest part of each triangle. Next, roll up the dough from the wider end to the pointed tip, creating a tight, spiral roll. Make sure the cinnamon-sugar mixture stays inside the dough as you roll.
5. Form the Nests
Once all the rolls are shaped, place them on the prepared baking sheet, ensuring they are evenly spaced. To form the nest shape, use your fingers or a spoon to create a small indentation in the center of each roll. This will allow you to add a little extra sweetness or surprise filling if desired.
6. Brush with Butter
Melt the unsalted butter in a small bowl and use a pastry brush to lightly brush the butter over the top of each roll. The butter will give the rolls a golden, flaky finish as they bake, enhancing their flavor and texture.
7. Bake the Rolls
Place the baking sheet in the preheated oven and bake the rolls for 15-20 minutes, or until they are golden brown. Keep an eye on them during the last few minutes to ensure they don’t overbake. The rolls should be puffed up and beautifully golden when done.
8. Prepare the Glaze (Optional)
While the rolls are baking, you can prepare the optional glaze. In a small bowl, whisk together the powdered sugar, milk, and vanilla extract until smooth. The glaze adds a sweet finish to the rolls and makes them extra festive.
9. Glaze the Rolls
Once the rolls are done baking, remove them from the oven and allow them to cool slightly on the baking sheet. Then, drizzle the glaze over the warm rolls for a glossy, sweet topping. If you don’t want the glaze, the rolls are delicious enough on their own, but it does add a nice touch for a more decadent treat.
10. Serve and Enjoy
Once the rolls are glazed and slightly cooled, they are ready to be served. They’re best enjoyed warm, but they can also be served at room temperature if needed. These rolls are perfect for Easter brunch, dinner, or as a sweet snack anytime.
Tips for Perfect Easter Crescent Rolls
- Use Refrigerated Crescent Dough: For ease and speed, refrigerated crescent dough is the perfect choice. It’s convenient and already pre-portioned, making the preparation process much faster. However, if you want to make the dough from scratch, you can use your favorite roll dough recipe.
- Roll Tight: When rolling the crescent dough into a spiral, make sure to roll tightly so that the cinnamon-sugar filling doesn’t spill out during baking.
- Brush with Butter Before Baking: Brushing the rolls with melted butter helps them bake up golden and crispy. It also enhances the rich, buttery flavor of the dough.
- Add Surprise Fillings: If you want to make these rolls even more special, try adding small bits of cream cheese, chocolate chips, or even mini marshmallows to the center before rolling them up. These surprise fillings can give the rolls an extra burst of sweetness.
- Make Ahead: You can prepare the rolls ahead of time and refrigerate them until you’re ready to bake. Simply assemble the rolls and place them on the baking sheet, then cover them tightly with plastic wrap and refrigerate. When you’re ready to bake, just let them come to room temperature before putting them in the oven.
- Don’t Overbake: Keep an eye on the rolls as they bake. The perfect crescent roll should be golden brown on the outside, but soft and fluffy on the inside. Overbaking them can make them dry, so take them out of the oven as soon as they’re golden.
Variations of Easter Crescent Rolls
- Chocolate Easter Crescent Rolls: Add chocolate chips or small chunks of your favorite chocolate bar to the center of each roll before baking. The result is a rich, decadent treat with a chocolatey surprise inside.
- Lemon Glazed Crescent Rolls: Add a citrus twist by drizzling the rolls with a lemon glaze instead of a traditional vanilla one. Simply substitute lemon juice for the milk in the glaze recipe, and zest the lemon for an extra burst of flavor.
- Nutty Easter Crescent Rolls: Add chopped nuts like pecans or walnuts to the cinnamon-sugar filling for added texture and flavor. The nuts pair beautifully with the buttery rolls.
- Fruit-Filled Crescent Rolls: Try filling the rolls with a spoonful of fruit preserves or fresh berries before rolling them up. This gives the rolls a sweet, fruity flavor that’s perfect for Easter or springtime gatherings.
Storage and Shelf Life
Easter Crescent Rolls are best enjoyed fresh, but they can be stored for a few days if needed. Allow them to cool completely before placing them in an airtight container. Store them at room temperature for up to 2-3 days.
For longer storage, you can freeze the rolls. Place them in a freezer-safe bag or container, and they will last up to 3 months. To reheat, simply place them in a preheated oven at 350°F (175°C) for about 10 minutes or until warmed through.
Side Dishes and Pairings for Easter Crescent Rolls
Pair these rolls with a variety of dishes for a complete meal:
- Easter Ham: These rolls pair wonderfully with a savory Easter ham, balancing the rich flavors of the meat with their sweet, buttery taste.
- Spring Salad: Serve these rolls alongside a light spring salad with fresh greens, strawberries, and a tangy vinaigrette for a well-rounded meal.
- Roasted Vegetables: Roasted carrots, asparagus, and potatoes make for a perfect side dish that complements the sweetness of the rolls.

Easter Crescent Rolls Recipe
- Total Time: 45 minutes
Description
These soft and buttery Easter Crescent Rolls are a perfect addition to your holiday meal. Light and fluffy, they are ideal for soaking up sauces or simply enjoying with a dollop of butter. A simple yet festive bread that adds warmth to any Easter celebration.
Ingredients
For the Crescent Rolls:
- 1 can (8 oz) refrigerated crescent roll dough
- 1/4 cup unsalted butter, melted (for brushing)
For the Filling:
- 1/4 cup granulated sugar
- 1 teaspoon ground cinnamon
For the Glaze (Optional):
- 1/4 cup powdered sugar
- 1 teaspoon milk
- 1/4 teaspoon vanilla extract
Instructions
Start by preheating your oven to 375°F (190°C). While the oven is heating, line a baking sheet with parchment paper or a silicone baking mat to make cleanup easier and prevent the rolls from sticking.
In a small bowl, combine the granulated sugar and ground cinnamon. Mix them together until the cinnamon is evenly distributed throughout the sugar. Set the bowl aside while you prepare the dough.
Open the can of refrigerated crescent roll dough and unroll the dough onto a clean surface. You will see that the dough is pre-cut into triangles. To form the rolls, you’ll be working with these triangle pieces, which will be rolled up into a spiral shape.
Take a small spoonful of the cinnamon-sugar mixture and sprinkle it evenly over the widest part of each triangle. Next, roll up the dough from the wider end to the pointed tip, creating a tight, spiral roll. Make sure the cinnamon-sugar mixture stays inside the dough as you roll.
Once all the rolls are shaped, place them on the prepared baking sheet, ensuring they are evenly spaced. To form the nest shape, use your fingers or a spoon to create a small indentation in the center of each roll. This will allow you to add a little extra sweetness or surprise filling if desired.
Melt the unsalted butter in a small bowl and use a pastry brush to lightly brush the butter over the top of each roll. The butter will give the rolls a golden, flaky finish as they bake, enhancing their flavor and texture.
Place the baking sheet in the preheated oven and bake the rolls for 15-20 minutes, or until they are golden brown. Keep an eye on them during the last few minutes to ensure they don’t overbake. The rolls should be puffed up and beautifully golden when done.
While the rolls are baking, you can prepare the optional glaze. In a small bowl, whisk together the powdered sugar, milk, and vanilla extract until smooth. The glaze adds a sweet finish to the rolls and makes them extra festive.
Once the rolls are done baking, remove them from the oven and allow them to cool slightly on the baking sheet. Then, drizzle the glaze over the warm rolls for a glossy, sweet topping. If you don’t want the glaze, the rolls are delicious enough on their own, but it does add a nice touch for a more decadent treat.
Once the rolls are glazed and slightly cooled, they are ready to be served. They’re best enjoyed warm, but they can also be served at room temperature if needed. These rolls are perfect for Easter brunch, dinner, or as a sweet snack anytime.
- Prep Time: 10 minutes
- Cook Time: 15-20 minutes
Nutrition
- Calories: 160-180 kcal
- Fat: 9g
- Carbohydrates: 22g
- Protein: 2g
Conclusion
Easter Crescent Rolls are a festive and delicious treat that will elevate your holiday gatherings. With their buttery, flaky texture and sweet cinnamon-sugar filling, they’re perfect for Easter brunch or any special occasion. Simple to make yet impressive enough for any holiday table, these rolls are sure to become a favorite in your baking repertoire. Whether served with a savory meal or enjoyed as a sweet snack, Easter Crescent Rolls are a crowd-pleaser that’s easy to prepare and absolutely delightful to eat.


