

Introduction
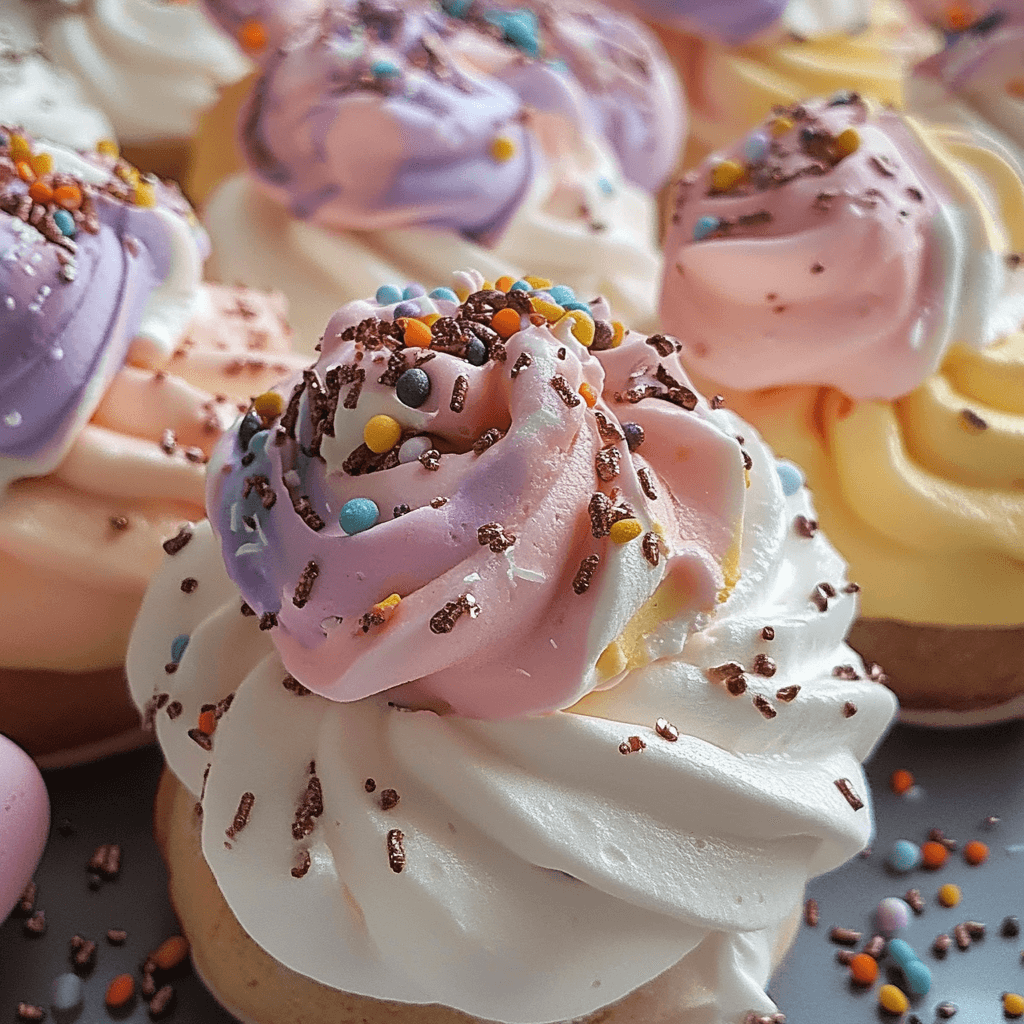
Easter Meringues are light, airy, and delicately sweet treats that are perfect for celebrating the spring season. These melt-in-your-mouth cookies are crisp on the outside and soft on the inside, creating an irresistible texture that will have you coming back for more. Their light pastel colors and playful shapes make them an ideal addition to any Easter celebration, whether as a standalone treat or part of a larger dessert platter.
These meringues are simple to make, require just a few ingredients, and offer endless possibilities for decoration. Whether you’re creating cute little nests for Easter eggs or simply enjoying them as a sweet snack, Easter Meringues are sure to delight. This guide will walk you through the steps to create these charming treats, along with some tips for success and variations to try.
Why You’ll Love Easter Meringues
- Light and Crispy: Meringues are incredibly light and crispy, offering a perfect balance of sweetness and airiness. Each bite is a delightful experience as they dissolve on your tongue.
- Customizable Colors and Shapes: You can easily color the meringue mixture with food coloring, creating festive pastel shades for the Easter season. You can also pipe the meringues into various fun shapes, such as bunny ears, nests, or even little flower petals.
- Perfect for Special Occasions: Easter Meringues are a great treat for Easter celebrations. Their pastel colors and whimsical shapes make them visually appealing and festive. They also make excellent gifts or party favors.
- Few Ingredients, Simple Process: The ingredients are minimal—egg whites, sugar, and a few flavorings. The method is straightforward, making these meringues an easy dessert to create, even for beginner bakers.
- Crispy on the Outside, Soft Inside: Meringues have a unique texture, offering a crunchy exterior with a chewy, slightly marshmallow-like interior. The contrast makes each bite interesting and satisfying.
Preparation and Cooking Time
- Total Time: 2 hours (includes drying time)
- Preparation Time: 15 minutes
- Cooking Time: 1-1.5 hours
- Servings: Approximately 30-35 meringues (depending on size)
- Calories per Serving: Around 35-40 calories per meringue, depending on the size and specific ingredients used.
Nutrition Facts (Per Serving)
- Calories: 35-40 kcal
- Fat: 0g
- Carbohydrates: 8-10g
- Protein: 1g
- Fiber: 0g
- Sugar: 8-10g
Ingredients
For the Easter Meringues:
- 4 large egg whites (at room temperature)
- 1 cup granulated sugar
- 1 teaspoon vanilla extract (or other flavoring of choice, such as almond or lemon extract)
- 1/2 teaspoon cream of tartar
- 1/4 teaspoon salt
- Food coloring (pastel shades of your choice)
- Optional: Sprinkles or edible glitter for decoration
Special Equipment
Making Easter Meringues doesn’t require too many specialized tools, but having the right equipment will help ensure that you achieve the best results:
- Electric Mixer: Since egg whites need to be whipped to stiff peaks, an electric mixer is essential. Hand mixers work well, but a stand mixer can provide better control and a more consistent result.
- Mixing Bowls: Use clean, dry mixing bowls, preferably glass or metal, for whipping the egg whites. Avoid using plastic, as it may retain grease, which can prevent the meringue from whipping properly.
- Piping Bags and Tips: For shaping the meringues, you’ll need piping bags. You can use a simple round tip for basic meringue shapes or experiment with more intricate tips to create decorative designs, such as bunny ears or swirls.
- Parchment Paper: Lining your baking sheet with parchment paper ensures that the meringues won’t stick and helps maintain their shape as they bake.
- Measuring Cups and Spoons: Accurate measurements are key when making meringues, especially when it comes to sugar and egg whites. Using standard measuring cups and spoons will help ensure the right proportions.
- Cooling Rack: Once the meringues are baked, it’s essential to let them cool completely on a wire rack. This allows air to circulate around the meringues, preventing them from becoming soggy.
Step-by-Step Instructions
1. Preheat the Oven and Prepare the Baking Sheet
Preheat your oven to 225°F (110°C). Line a large baking sheet with parchment paper to prevent the meringues from sticking and ensure an even bake. You can use a pencil to lightly trace the shape of your meringues on the paper if you want uniform sizes, then flip the paper over so the pencil markings don’t touch the meringues.
2. Whip the Egg Whites
In a clean, dry mixing bowl, add the egg whites and begin to beat them on medium speed using an electric mixer. Once the egg whites start to become frothy, add the cream of tartar and salt. The cream of tartar helps stabilize the egg whites, ensuring that they can hold the structure needed for meringue.
Continue beating the egg whites until soft peaks form. This means that when you lift the beaters, the egg whites should gently fold over themselves. At this stage, begin gradually adding the sugar, about one tablespoon at a time. Be patient and add the sugar slowly, ensuring it dissolves completely into the egg whites.
3. Whip to Stiff Peaks
Once all the sugar is added, increase the mixer speed to high and continue beating until stiff, glossy peaks form. The meringue should hold its shape when the beaters are lifted. This is the stage where you can add your vanilla extract or other flavoring of your choice. Be sure to mix it in gently until combined.
4. Add Food Coloring (Optional)
If you want to add color to your meringues, divide the meringue mixture into separate bowls and add a few drops of food coloring to each bowl. Use a spatula to gently fold in the color, making sure not to deflate the meringue. For a marbled effect, you can add the color in streaks and then swirl it gently with a spoon.
5. Pipe the Meringues
Transfer the meringue mixture into a piping bag fitted with your desired piping tip. If you don’t have a piping bag, you can also use a Ziploc bag with the tip of the corner snipped off. Pipe small dollops or decorative shapes onto the prepared baking sheet. If you’re making meringue nests, create a circle and then pipe an additional ring around the inside to create the nest shape.
6. Bake the Meringues
Place the baking sheet in the preheated oven and bake the meringues for 1 to 1.5 hours, or until they are dry and crisp to the touch. Meringues are best when they are fully dried out, but still slightly soft in the center. The key to perfect meringues is slow baking at low heat, which helps them dry out without browning.
After baking, turn off the oven and leave the meringues in the oven to cool completely. This gradual cooling process helps them maintain their crisp texture.
7. Cool the Meringues
Once the meringues are completely cool, carefully peel them off the parchment paper. They should be light and crispy, and they’ll have a delicate crunch when bitten into.
Tips for Perfect Easter Meringues
- Make Sure the Bowl is Clean: Any grease or residue in the mixing bowl can interfere with the egg whites whipping properly. Make sure your bowl is completely clean and dry.
- Room Temperature Egg Whites: Using egg whites that are at room temperature will help them whip to their maximum volume, giving you a lighter, fluffier meringue.
- Don’t Rush the Sugar: Add the sugar slowly and allow it to fully dissolve into the egg whites before continuing. This will help ensure a smooth, glossy meringue that holds its shape.
- Low and Slow Baking: Meringues need to bake at a low temperature for a long period of time to dry out properly. Be patient and don’t increase the oven temperature, as this can cause the meringues to crack or brown.
- Avoid Humidity: Meringues can be affected by humidity, so try to bake them on a dry day. If the weather is humid, the meringues may not dry out properly.
Variations of Easter Meringues
- Chocolate Easter Meringues: Add 1/4 cup of cocoa powder to the meringue mixture for a chocolate twist. You can also fold in some mini chocolate chips for extra flavor and texture.
- Lemon Easter Meringues: For a citrusy touch, add 1 teaspoon of lemon zest and a few drops of lemon juice to the meringue mixture.
- Easter Meringue Nests: Create small, round nests with a hollow center to place chocolate eggs or colorful candy in the middle. This makes for a fun Easter treat that’s perfect for little ones.
- Easter Meringue Butterflies: Pipe meringue into butterfly shapes using a piping bag and fine tips, then decorate them with edible glitter or colored sugar for a festive touch.
Storage and Shelf Life
Meringues are best enjoyed fresh, but they can be stored for later. Store the cooled meringues in an airtight container at room temperature for up to 1 week. For longer storage, you can freeze the meringues. To freeze, arrange them in a single layer on a baking sheet and freeze until solid. Then transfer them to a freezer-safe container or bag. Frozen meringues can last up to 3 months. To thaw, simply leave them at room temperature for about 30 minutes.
Side Dishes and Pairings for Easter Meringues
- Fresh Fruit: Pair these light meringues with fresh, seasonal fruit like strawberries, raspberries, or blueberries. The fresh fruit complements the sweetness of the meringues.
- Whipped Cream or Custard: Serve with a dollop of whipped cream or a scoop of vanilla custard for a richer, more indulgent dessert.
- Sparkling Water or Lemonade: A light and refreshing beverage like sparkling water or homemade lemonade is a perfect complement to the sweetness of meringues.

Easter Meringues Recipe
- Total Time: 2 hours
Description
Light, airy, and sweet, these pastel-colored meringues are a delightful treat for Easter. With a crispy exterior and soft, melt-in-your-mouth center, these little bites of goodness are perfect for any festive occasion.
Ingredients
For the Easter Meringues:
-
4 large egg whites (at room temperature)
-
1 cup granulated sugar
-
1 teaspoon vanilla extract (or other flavoring of choice, such as almond or lemon extract)
-
1/2 teaspoon cream of tartar
-
1/4 teaspoon salt
-
Food coloring (pastel shades of your choice)
-
Optional: Sprinkles or edible glitter for decoration
Instructions
Preheat your oven to 225°F (110°C). Line a large baking sheet with parchment paper to prevent the meringues from sticking and ensure an even bake. You can use a pencil to lightly trace the shape of your meringues on the paper if you want uniform sizes, then flip the paper over so the pencil markings don’t touch the meringues.
In a clean, dry mixing bowl, add the egg whites and begin to beat them on medium speed using an electric mixer. Once the egg whites start to become frothy, add the cream of tartar and salt. The cream of tartar helps stabilize the egg whites, ensuring that they can hold the structure needed for meringue.
Continue beating the egg whites until soft peaks form. This means that when you lift the beaters, the egg whites should gently fold over themselves. At this stage, begin gradually adding the sugar, about one tablespoon at a time. Be patient and add the sugar slowly, ensuring it dissolves completely into the egg whites.
Once all the sugar is added, increase the mixer speed to high and continue beating until stiff, glossy peaks form. The meringue should hold its shape when the beaters are lifted. This is the stage where you can add your vanilla extract or other flavoring of your choice. Be sure to mix it in gently until combined.
If you want to add color to your meringues, divide the meringue mixture into separate bowls and add a few drops of food coloring to each bowl. Use a spatula to gently fold in the color, making sure not to deflate the meringue. For a marbled effect, you can add the color in streaks and then swirl it gently with a spoon.
Transfer the meringue mixture into a piping bag fitted with your desired piping tip. If you don’t have a piping bag, you can also use a Ziploc bag with the tip of the corner snipped off. Pipe small dollops or decorative shapes onto the prepared baking sheet. If you’re making meringue nests, create a circle and then pipe an additional ring around the inside to create the nest shape.
Place the baking sheet in the preheated oven and bake the meringues for 1 to 1.5 hours, or until they are dry and crisp to the touch. Meringues are best when they are fully dried out, but still slightly soft in the center. The key to perfect meringues is slow baking at low heat, which helps them dry out without browning.
After baking, turn off the oven and leave the meringues in the oven to cool completely. This gradual cooling process helps them maintain their crisp texture.
Once the meringues are completely cool, carefully peel them off the parchment paper. They should be light and crispy, and they’ll have a delicate crunch when bitten into.
- Prep Time: 15 minutes
- Cook Time: 1-1.5 hours
Nutrition
- Calories: 35-40 kcal
- Fat: 0g
- Carbohydrates: 8-10g
- Protein: 1g
Conclusion
Easter Meringues are a delightful and visually stunning treat that will impress guests at any spring gathering. With their light, crisp texture and sweet, delicate flavor, these meringues are sure to become a staple in your baking repertoire. Easy to make, customizable with different colors and flavors, and perfect for any Easter celebration, these meringues will leave everyone with a smile.


