
Introduction
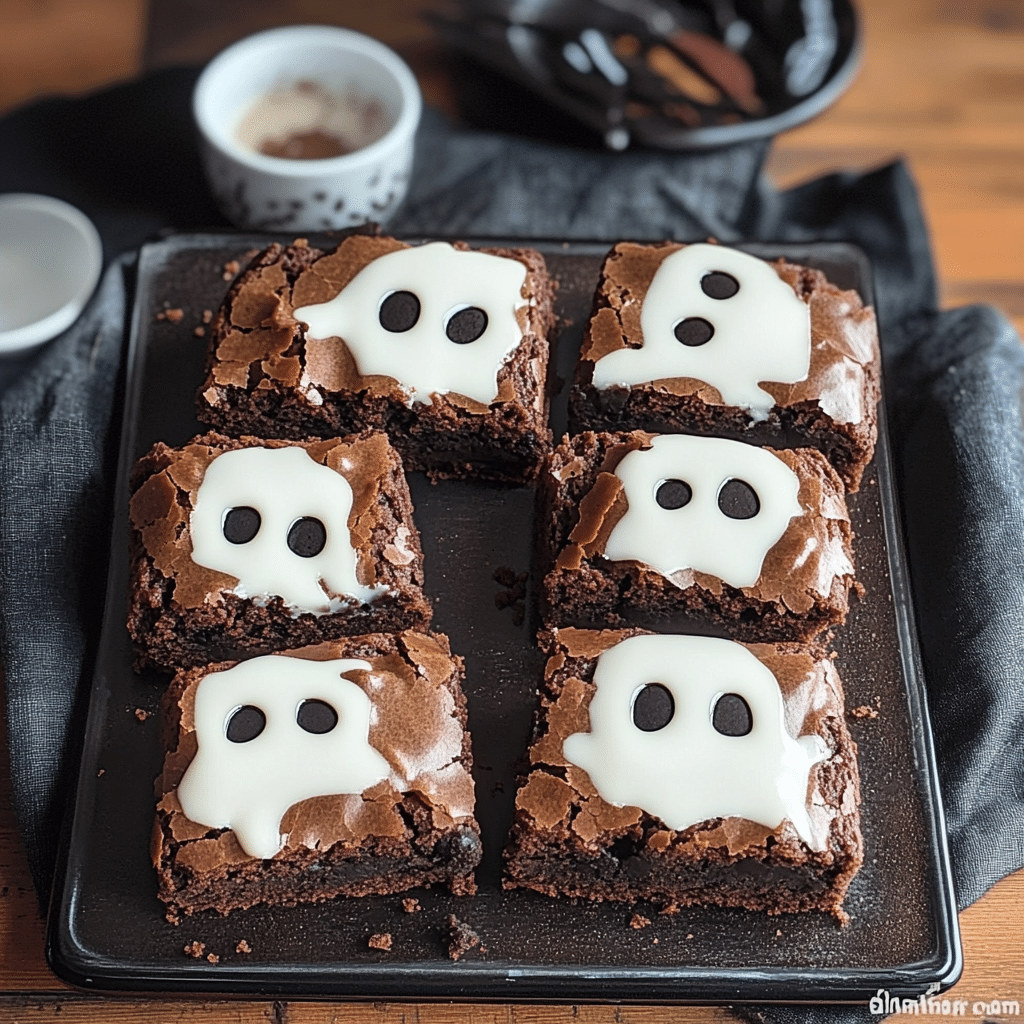
Halloween is the perfect time to get a little creative in the kitchen, and what better way to celebrate than with some adorable Ghost Brownies? These treats combine the rich, fudgy goodness of brownies with a fun, spooky twist. Topped with fluffy ghost-shaped meringues, they’re both delicious and delightful to look at!
I first stumbled upon this recipe during a Halloween bake-off at my workplace. I wanted to make something that would stand out, and these ghostly brownies caught my eye. When I brought them in, they vanished faster than you could say “Boo!” Ever since then, they’ve become a staple in my Halloween dessert repertoire. Not only are they a hit with kids, but adults can’t resist their charm either! It’s amazing how a simple dessert can evoke such joy and excitement, especially during the spookiest time of the year.
If you’re looking for a fun and festive dessert to share at your Halloween gathering, these Ghost Brownies are just the treat you need. They’re not only perfect for Halloween parties but also make for a fun family activity. Gather your kids, let them help with the meringue ghosts, and watch as their creativity unfolds. Let’s get started on creating these deliciously spooky delights!
Why You’ll Love This Recipe
- Irresistibly Fudgy: These brownies are rich, chocolaty, and utterly satisfying, making them perfect for any chocolate lover. Each bite is a heavenly experience that will have you reaching for seconds!
- Adorable Presentation: The ghost meringues add a fun and festive touch that’s sure to impress guests of all ages. Their whimsical appearance brings a playful spirit to your dessert table.
- Simple Ingredients: With common pantry staples, you can whip these brownies up without a fuss. No need for any fancy ingredients here—just simple, wholesome goodness.
- Customizable: You can easily tweak the recipe to add your favorite flavors or decorations. Whether you want to add a hint of peppermint or top them with festive sprinkles, the options are endless!
- Perfect for Kids: Involve the little ones in decorating; they’ll love helping to create these ghostly treats! It’s a fantastic way to bond over baking and create lasting memories.
Preparation Time and Servings
- Total Time: About 1 hour (30 minutes prep, 30 minutes baking + cooling)
- Servings: Makes about 12-16 brownies, depending on how large you cut them. Perfect for sharing with friends and family!
- Nutrition Facts: Approximately 280 calories per brownie, with 4g protein and 36g carbs.
Ingredients
Here’s what you’ll need to make these delicious Ghost Brownies:
For the Brownies:
- 1 cup unsalted butter (2 sticks) – Essential for that rich, fudgy texture. It also helps the brownies achieve that beautiful glossy top.
- 2 cups granulated sugar – Adds sweetness and helps create a chewy brownie that melts in your mouth.
- 4 large eggs – Provide moisture and structure. They also help bind everything together beautifully.
- 1 teaspoon vanilla extract – Enhances the flavor of the chocolate, adding depth to the overall taste.
- 1 cup all-purpose flour – The base for our brownies, giving them structure while keeping them moist.
- 1 cup unsweetened cocoa powder – Gives that deep chocolate flavor, making these brownies truly decadent.
- 1/2 teaspoon salt – Balances the sweetness and elevates the chocolate flavor.
- 1 teaspoon baking powder – Helps the brownies rise, giving them a nice lift and soft texture.
For the Ghost Meringues:
- 2 large egg whites – The base for our meringue, providing the necessary protein for structure.
- 1/2 teaspoon cream of tartar – Stabilizes the egg whites and helps achieve that perfect glossy finish.
- 1 cup granulated sugar – Sweetens the meringue and contributes to its lovely texture.
- 1 teaspoon vanilla extract – Adds flavor to the meringue, making it even more delightful.
- Chocolate chips or edible eyes (for decoration) – To create ghostly faces that will make everyone smile!
Step-by-Step Instructions
Ready to bake? Let’s get started!
1. Preheat the Oven
- Preheat your oven to 350°F (175°C). Grease a 9×13-inch baking pan or line it with parchment paper for easy removal. This step ensures your brownies will come out easily and helps prevent sticking.
2. Melt the Butter
- In a medium saucepan, melt the unsalted butter over low heat. Remove from heat and allow it to cool slightly. Letting the butter cool helps prevent the eggs from scrambling when mixed in.
3. Mix in Sugar and Eggs
- In a large mixing bowl, combine the melted butter and granulated sugar, stirring until well combined. Add the eggs one at a time, mixing well after each addition, then stir in the vanilla extract. This is where the magic begins—watch as the mixture transforms into a glossy, rich batter!
4. Combine the Dry Ingredients
- In another bowl, whisk together the flour, cocoa powder, salt, and baking powder. Gradually add the dry ingredients to the wet mixture, stirring until just combined. Be careful not to overmix! Overmixing can lead to tough brownies instead of the tender, fudgy texture we want.
5. Pour into the Pan
- Pour the brownie batter into the prepared baking pan, spreading it evenly with a spatula. It’s okay if it’s not perfect; the brownies will rise and even out during baking.
6. Bake
- Bake in the preheated oven for about 30-35 minutes, or until a toothpick inserted in the center comes out with a few moist crumbs. Don’t overbake; you want them fudgy! The aroma of chocolate will fill your kitchen, making it hard to resist sneaking a bite!
7. Cool
- Once baked, remove the brownies from the oven and let them cool in the pan for about 20 minutes. This cooling time helps make cutting easier and allows the flavors to develop.
8. Prepare the Meringue
- While the brownies are cooling, preheat your oven to 200°F (93°C) for the meringues.
- In a clean mixing bowl, beat the egg whites and cream of tartar together on medium speed until soft peaks form. This means that the mixture will hold a shape but still droop slightly.
9. Gradually Add Sugar
- Gradually add the granulated sugar, one tablespoon at a time, while continuing to beat the mixture on high speed until stiff, glossy peaks form (about 5-7 minutes). The meringue should look smooth and shiny. Stir in the vanilla extract gently to combine.
10. Pipe the Ghosts
- Transfer the meringue to a piping bag fitted with a star tip. Pipe ghost shapes onto a lined baking sheet, leaving some space between each one. You can create small swirls for the ghost bodies and add little peaks for the tops. The more whimsical, the better!
11. Bake the Meringues
- Bake the meringues in the preheated oven for about 1 hour or until they’re dry and crisp. Turn off the oven and leave the meringues inside for an additional hour to cool completely. This ensures they dry out properly, giving them that light, airy texture.
12. Assemble
- Once both the brownies and meringues have cooled, cut the brownies into squares.
- Top each brownie with a ghost meringue, using a little bit of melted chocolate to attach chocolate chips or edible eyes for a spooky look! This step is where the fun really begins—let your creativity shine as you design your ghostly faces!
How to Serve
Here are some fun serving ideas for your Ghost Brownies:
- Dessert Platter: Arrange the brownies on a festive Halloween-themed platter for an eye-catching display that will impress your guests.
- Individual Wrapping: Wrap each brownie in clear cellophane with a spooky ribbon for a cute party favor. It’s a thoughtful touch that guests will appreciate!
- Accompany with Ice Cream: Serve warm brownies with a scoop of vanilla ice cream for an indulgent treat. The contrast of warm and cold is simply divine.
Additional Tips
- Storing Leftovers: Keep any leftover brownies in an airtight container at room temperature for up to 3 days. You can also freeze the brownies for up to 2 months for a sweet treat later on!
- Perfect Meringues: Make sure your mixing bowl and beaters are completely clean and free of any grease, as this can affect the meringue’s ability to whip up properly. A little diligence here goes a long way!
- Flavor Variations: Feel free to add a pinch of cinnamon or peppermint extract to the brownie batter for a fun twist. You could even experiment with different types of chocolate—dark, milk, or white!
- Meringue Shapes: Get creative with the meringue shapes—try making pumpkin or spider shapes to match your Halloween theme! You could even mix in some food coloring for colorful meringue ghosts.
- Don’t Rush the Cooling: Allow both the brownies and meringues to cool completely before assembling; this helps prevent sogginess and ensures the meringues stay crisp.
Recipe Variations
Here are some fun ways to customize your Ghost Brownies:
- Chocolate Mint: Add peppermint extract to the brownie batter for a refreshing twist. Top with crushed peppermint candies for an extra festive touch!
- Nutty Brownies: Fold in chopped nuts (like walnuts or pecans) for added texture and flavor. They’ll give the brownies a delightful crunch.
- Flavored Meringues: Experiment with different flavors for your meringues, like almond or lemon. Just be cautious with the amounts—start small and adjust to your taste!
- Halloween Colors: Add food coloring to your meringue for a festive touch. Think orange for pumpkins or green for Frankenstein!
- Boozy Brownies: For the adults, consider adding a splash of coffee liqueur to the batter for an extra kick. Just be sure to adjust the baking time slightly if needed.
Freezing and Storage
If you have leftovers (though I doubt it!), here’s how to store and freeze your Ghost Brownies:
- Storing: Keep the brownies in an airtight container at room temperature for up to 3 days. They can also be refrigerated for up to a week if you prefer them cold.
- Freezing: To freeze, cut the brownies into squares and place them in a single layer on a baking sheet to freeze for a couple of hours. Once solid, transfer them to a freezer-safe container or zip-top bag, separating layers with parchment paper. They can be frozen for up to 2 months.
- Reheating: When you’re ready to enjoy, simply thaw at room temperature for a few hours or warm in the microwave for a few seconds until just heated through.
Special Equipment
- Mixing Bowls: A set of mixing bowls will help keep your ingredients organized.
- Piping Bag: A piping bag with a star tip is essential for creating the ghost shapes, but you can also use a resealable plastic bag with a corner snipped off.
- Baking Sheet: Use a baking sheet for the meringues. A silicone mat or parchment paper will help with easy removal.
- Toothpicks: Great for making little details on your meringues or for testing the doneness of your brownies!
FAQ Section
Can I use store-bought brownie mix?
Absolutely! If you’re short on time, a good-quality store-bought brownie mix works just fine. Just follow the package instructions, and then add the ghost meringues on top for a fun twist.
What if I don’t have cream of tartar?
If you don’t have cream of tartar, you can substitute with an equal amount of lemon juice or white vinegar. Both will help stabilize the egg whites for your meringue.
How can I make these gluten-free?
To make gluten-free brownies, simply replace the all-purpose flour with a 1:1 gluten-free flour blend. Ensure the other ingredients are also gluten-free.
Can I make the meringues ahead of time?
Yes! Meringues can be made a day in advance and stored in an airtight container at room temperature. Just wait to assemble them on top of the brownies until just before serving to maintain their crispiness.
What if my brownies sink in the middle?
This can happen if they’re underbaked. Make sure to bake them until a toothpick comes out with only a few moist crumbs. If they do sink, don’t worry—just top them with your meringues for a ghostly fix!
Conclusion
I can’t wait for you to try these Ghost Brownies! They’re a fun and delicious way to celebrate Halloween, and I know they’ll become a favorite for you and your loved ones. With their fudgy chocolate base and adorable ghostly tops, they’re sure to steal the show at any spooky gathering.
Whether you’re hosting a Halloween party, attending a potluck, or just looking for a fun family baking project, these brownies are the perfect treat. They not only taste amazing but also bring a whimsical touch to your celebrations.
Please share your experience in the comments below, and don’t forget to tag me on social media with your creations. Happy baking, and enjoy making these ghostly delights this Halloween season!
PrintGhost Brownies: A Spooktacular Halloween Treat
- Total Time: 1 hour
Ingredients
For the Brownies:
- 1 cup unsalted butter (2 sticks) – Essential for that rich, fudgy texture. It also helps the brownies achieve that beautiful glossy top.
- 2 cups granulated sugar – Adds sweetness and helps create a chewy brownie that melts in your mouth.
- 4 large eggs – Provide moisture and structure. They also help bind everything together beautifully.
- 1 teaspoon vanilla extract – Enhances the flavor of the chocolate, adding depth to the overall taste.
- 1 cup all-purpose flour – The base for our brownies, giving them structure while keeping them moist.
- 1 cup unsweetened cocoa powder – Gives that deep chocolate flavor, making these brownies truly decadent.
- 1/2 teaspoon salt – Balances the sweetness and elevates the chocolate flavor.
- 1 teaspoon baking powder – Helps the brownies rise, giving them a nice lift and soft texture.
For the Ghost Meringues:
- 2 large egg whites – The base for our meringue, providing the necessary protein for structure.
- 1/2 teaspoon cream of tartar – Stabilizes the egg whites and helps achieve that perfect glossy finish.
- 1 cup granulated sugar – Sweetens the meringue and contributes to its lovely texture.
- 1 teaspoon vanilla extract – Adds flavor to the meringue, making it even more delightful.
- Chocolate chips or edible eyes (for decoration) – To create ghostly faces that will make everyone smile!
Instructions
1. Preheat the Oven
- Preheat your oven to 350°F (175°C). Grease a 9×13-inch baking pan or line it with parchment paper for easy removal. This step ensures your brownies will come out easily and helps prevent sticking.
2. Melt the Butter
- In a medium saucepan, melt the unsalted butter over low heat. Remove from heat and allow it to cool slightly. Letting the butter cool helps prevent the eggs from scrambling when mixed in.
3. Mix in Sugar and Eggs
- In a large mixing bowl, combine the melted butter and granulated sugar, stirring until well combined. Add the eggs one at a time, mixing well after each addition, then stir in the vanilla extract. This is where the magic begins—watch as the mixture transforms into a glossy, rich batter!
4. Combine the Dry Ingredients
- In another bowl, whisk together the flour, cocoa powder, salt, and baking powder. Gradually add the dry ingredients to the wet mixture, stirring until just combined. Be careful not to overmix! Overmixing can lead to tough brownies instead of the tender, fudgy texture we want.
5. Pour into the Pan
- Pour the brownie batter into the prepared baking pan, spreading it evenly with a spatula. It’s okay if it’s not perfect; the brownies will rise and even out during baking.
6. Bake
- Bake in the preheated oven for about 30-35 minutes, or until a toothpick inserted in the center comes out with a few moist crumbs. Don’t overbake; you want them fudgy! The aroma of chocolate will fill your kitchen, making it hard to resist sneaking a bite!
7. Cool
- Once baked, remove the brownies from the oven and let them cool in the pan for about 20 minutes. This cooling time helps make cutting easier and allows the flavors to develop.
8. Prepare the Meringue
- While the brownies are cooling, preheat your oven to 200°F (93°C) for the meringues.
- In a clean mixing bowl, beat the egg whites and cream of tartar together on medium speed until soft peaks form. This means that the mixture will hold a shape but still droop slightly.
9. Gradually Add Sugar
- Gradually add the granulated sugar, one tablespoon at a time, while continuing to beat the mixture on high speed until stiff, glossy peaks form (about 5-7 minutes). The meringue should look smooth and shiny. Stir in the vanilla extract gently to combine.
10. Pipe the Ghosts
- Transfer the meringue to a piping bag fitted with a star tip. Pipe ghost shapes onto a lined baking sheet, leaving some space between each one. You can create small swirls for the ghost bodies and add little peaks for the tops. The more whimsical, the better!
11. Bake the Meringues
- Bake the meringues in the preheated oven for about 1 hour or until they’re dry and crisp. Turn off the oven and leave the meringues inside for an additional hour to cool completely. This ensures they dry out properly, giving them that light, airy texture.
12. Assemble
- Once both the brownies and meringues have cooled, cut the brownies into squares.
- Top each brownie with a ghost meringue, using a little bit of melted chocolate to attach chocolate chips or edible eyes for a spooky look! This step is where the fun really begins—let your creativity shine as you design your ghostly faces!
- Prep Time: 30 minutes
- Baking and Cooling Time: 30 minutes
Nutrition
- Serving Size: Per Brownie
- Calories: 280 kcal
- Carbohydrates: 36g
- Protein: 4g


