
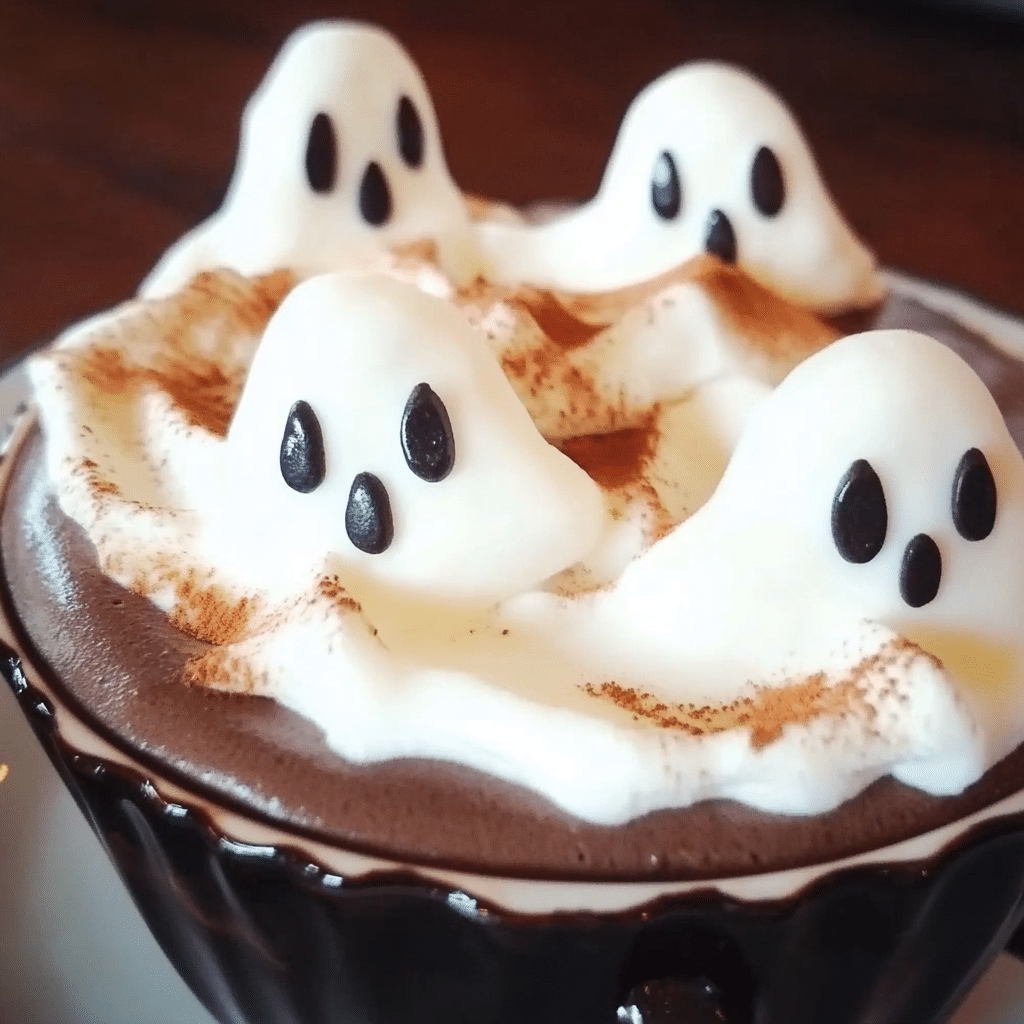
These adorable Hot Cocoa Ghosts are a fun and spooky treat that’s perfect for Halloween! Made from marshmallows dipped in white chocolate and decorated to look like cute little ghosts, they’re a delightful addition to your fall festivities. Not only are they great as a standalone treat, but they also make a charming garnish for hot cocoa or as part of a dessert platter. They’re easy to make, visually striking, and sure to be a hit with both kids and adults!
Ingredients
For the Hot Cocoa Ghosts:
- 12 large marshmallows (preferably the big, puffy kind)
- 1 cup white chocolate chips (or white candy melts)
- 1 tablespoon vegetable oil (optional, for thinning the chocolate)
- Mini chocolate chips or black edible markers (for the eyes)
- Sprinkles, edible glitter, or crushed graham crackers (optional, for garnish)
- 12 lollipop sticks or skewers (optional, if you want to make them on sticks)
For the Hot Cocoa (Optional):
- 2 cups milk (or your preferred milk alternative)
- 2 tablespoons hot cocoa mix (or homemade cocoa powder and sugar)
- Whipped cream (for topping)
- Chocolate shavings, marshmallows, or cinnamon (for garnish)
Instructions
Step 1: Prepare the Marshmallows
- Optional – Insert lollipop sticks: If you want to make the Hot Cocoa Ghosts on sticks (like a marshmallow pop), gently insert a lollipop stick or skewer into the bottom of each marshmallow. This step is optional, but it makes them easier to handle and add to hot cocoa mugs.
- Melt the white chocolate: In a microwave-safe bowl, melt the white chocolate chips in 30-second intervals, stirring well after each interval until the chocolate is smooth and melted. If the chocolate is too thick, you can stir in a tablespoon of vegetable oil to thin it out.
Step 2: Dip the Marshmallows
- Dip the marshmallows: Hold each marshmallow (with or without the stick) by the stick or by the top and dip it into the melted white chocolate. Ensure the marshmallow is fully coated, then gently shake off any excess chocolate.
- Place on a tray: Place the dipped marshmallow on a baking sheet lined with parchment paper or a silicone baking mat. Repeat this process with the remaining marshmallows.
Step 3: Decorate the Ghosts
- Add the ghost eyes: While the white chocolate is still wet, press two mini chocolate chips (or use an edible marker) into the marshmallow to create the eyes. You can also use black icing or melted dark chocolate for the eyes if you prefer.
- Optional – Add mouth or details: If you want to get creative, use more chocolate or icing to add a small mouth, or use sprinkles or edible glitter for a spooky or sparkly effect.
Step 4: Let the Ghosts Set
- Let the ghosts cool: Allow the chocolate-covered marshmallows to set and harden at room temperature. If you’re in a rush, you can place them in the fridge for about 10-15 minutes to speed up the process.
Step 5: Serve the Ghosts
- Serve as a treat: Once the chocolate has hardened, the Hot Cocoa Ghosts are ready to enjoy! Serve them as a snack on their own, or pop them into mugs of hot cocoa for a cute and delicious touch.
- Pair with hot cocoa: To make a perfect pairing, prepare a cup of hot cocoa and place a ghost on top for an extra festive garnish. You can even add whipped cream and extra sprinkles or mini marshmallows to the hot cocoa for a complete spooky treat.
Nutrition Facts (for 1 Hot Cocoa Ghost)
Calories per Ghost (without the hot cocoa): Approximately 120-150 calories
- Total Fat: 6g
- Saturated Fat: 3g
- Cholesterol: 5mg
- Carbohydrates: 20g
- Fiber: 0g
- Sugar: 18g
- Protein: 1g
Preparation Time
- Total Time: 45 minutes (including setting time)
- Preparation Time: 20 minutes
- Setting Time: 15-20 minutes
How to Serve
- With hot cocoa: Drop one or two of these adorable ghosts into a mug of hot cocoa for a fun, interactive treat.
- As a party snack: Serve them on a tray with other Halloween treats like cookies, brownies, or candy.
- As a gift: Package them in clear bags with a cute ribbon for a fun homemade Halloween gift.
Additional Tips
- Flavor variations: For a twist, try dipping the marshmallows in milk or dark chocolate instead of white. You could also sprinkle a bit of orange or black colored sugar on the ghosts for an extra pop of color.
- Lollipop sticks: If you choose to add lollipop sticks, they not only make the ghosts easier to handle but also great for kids who want to enjoy a treat on the go.
- Making the ghosts ahead: The ghosts can be made ahead of time and stored in an airtight container for up to 2-3 days at room temperature. If storing in the fridge, allow them to come to room temperature before serving.
- Hot cocoa customization: Add a little cinnamon, caramel, or flavored syrups like peppermint or vanilla to your hot cocoa for a unique flavor combo to go with the ghosts.
Recipe Variations
- Monster Marshmallows: Instead of ghosts, you can dip marshmallows in colored chocolate (green, purple, or orange) and use candy eyes or edible markers to create monsters or other Halloween characters.
- Spooky Hot Cocoa: Add a few drops of orange food coloring to the hot cocoa, and top it with a swirl of whipped cream and a sprinkle of pumpkin pie spice for a Halloween-inspired drink.
- Caramel Ghosts: Instead of white chocolate, dip the marshmallows in caramel and let it cool. Then drizzle with dark chocolate for eyes and mouths.
Freezing and Storage
- Freezing: You can freeze these marshmallow ghosts if you want to make them ahead. Place them in an airtight container or freezer bag, separated by parchment paper to prevent them from sticking together. They can be frozen for up to 1 month. Let them thaw at room temperature before serving.
- Storage: Store these Hot Cocoa Ghosts in an airtight container at room temperature for up to 3-4 days. If storing in the fridge, they’ll last about 1 week.
FAQ Section
Q1: Can I use mini marshmallows instead of large ones?
A1: Yes! Mini marshmallows will work too, but they’ll need smaller amounts of chocolate. You can also use a tray of mini marshmallows to create a larger number of ghost treats.
Q2: Can I use a different type of chocolate?
A1: Yes! You can use milk chocolate, dark chocolate, or even colored candy melts. The process is the same, just melt the chocolate of your choice and dip the marshmallows.
Q3: How do I prevent the chocolate from cracking?
A3: To prevent cracking, make sure the marshmallows are at room temperature before dipping and that the chocolate is melted slowly and evenly. If it’s too thick, thin it with a small amount of vegetable oil.
Q4: Can I make these ghosts in advance?
A4: Yes! You can prepare them a day or two ahead of time. Just store them in an airtight container at room temperature for up to 3-4 days.
These Hot Cocoa Ghosts are a deliciously spooky treat that adds a playful touch to your Halloween festivities. Whether you’re enjoying them as a snack or stirring them into hot cocoa for an extra dash of fun, these ghostly goodies will surely be a favorite among friends and family!
Print
Hot Cocoa Ghosts
- Total Time: 45 minutes
Ingredients
For the Hot Cocoa Ghosts:
- 12 large marshmallows (preferably the big, puffy kind)
- 1 cup white chocolate chips (or white candy melts)
- 1 tablespoon vegetable oil (optional, for thinning the chocolate)
- Mini chocolate chips or black edible markers (for the eyes)
- Sprinkles, edible glitter, or crushed graham crackers (optional, for garnish)
- 12 lollipop sticks or skewers (optional, if you want to make them on sticks)
For the Hot Cocoa (Optional):
- 2 cups milk (or your preferred milk alternative)
- 2 tablespoons hot cocoa mix (or homemade cocoa powder and sugar)
- Whipped cream (for topping)
- Chocolate shavings, marshmallows, or cinnamon (for garnish)
Instructions
Step 1: Prepare the Marshmallows
- Optional – Insert lollipop sticks: If you want to make the Hot Cocoa Ghosts on sticks (like a marshmallow pop), gently insert a lollipop stick or skewer into the bottom of each marshmallow. This step is optional, but it makes them easier to handle and add to hot cocoa mugs.
- Melt the white chocolate: In a microwave-safe bowl, melt the white chocolate chips in 30-second intervals, stirring well after each interval until the chocolate is smooth and melted. If the chocolate is too thick, you can stir in a tablespoon of vegetable oil to thin it out.
Step 2: Dip the Marshmallows
- Dip the marshmallows: Hold each marshmallow (with or without the stick) by the stick or by the top and dip it into the melted white chocolate. Ensure the marshmallow is fully coated, then gently shake off any excess chocolate.
- Place on a tray: Place the dipped marshmallow on a baking sheet lined with parchment paper or a silicone baking mat. Repeat this process with the remaining marshmallows.
Step 3: Decorate the Ghosts
- Add the ghost eyes: While the white chocolate is still wet, press two mini chocolate chips (or use an edible marker) into the marshmallow to create the eyes. You can also use black icing or melted dark chocolate for the eyes if you prefer.
- Optional – Add mouth or details: If you want to get creative, use more chocolate or icing to add a small mouth, or use sprinkles or edible glitter for a spooky or sparkly effect.
Step 4: Let the Ghosts Set
- Let the ghosts cool: Allow the chocolate-covered marshmallows to set and harden at room temperature. If you’re in a rush, you can place them in the fridge for about 10-15 minutes to speed up the process.
Step 5: Serve the Ghosts
- Serve as a treat: Once the chocolate has hardened, the Hot Cocoa Ghosts are ready to enjoy! Serve them as a snack on their own, or pop them into mugs of hot cocoa for a cute and delicious touch.
- Pair with hot cocoa: To make a perfect pairing, prepare a cup of hot cocoa and place a ghost on top for an extra festive garnish. You can even add whipped cream and extra sprinkles or mini marshmallows to the hot cocoa for a complete spooky treat.
- Prep Time: 20 minutes
Nutrition
- Calories: 120-150 kcal
- Fat: 6g
- Carbohydrates: 20g
- Protein: 1g


