
Introduction
Mini pumpkin pies are a delightful addition to any Thanksgiving feast, capturing the essence of the season in bite-sized treats. These little pies boast a rich, spiced pumpkin filling nestled in a flaky crust, making them perfect for serving at gatherings or enjoying as a sweet snack. Imagine the moment you take a bite: the flavors of cinnamon, nutmeg, and creamy pumpkin filling melting in your mouth—your guests will be delighted!
I discovered this recipe while searching for a fun twist on traditional pumpkin pie, and it quickly became a holiday favorite in our household. They are not only delicious but also easy to prepare, allowing you to impress your family and friends without spending hours in the kitchen. Let’s dive into what makes these mini pumpkin pies so special and how you can create them perfectly!
Why You’ll Love This Recipe
- Easy to Make: With simple ingredients and straightforward steps, even novice bakers can whip these up with ease.
- Perfect Portion Size: These mini pies offer just the right amount of sweetness without being overwhelming, making them ideal for guests who want to try a little bit of everything.
- Customizable: You can easily adjust the spices or add toppings to suit your taste, making it a versatile recipe.
- Cute Presentation: Their small size makes them adorable on any dessert table, perfect for holiday gatherings.
- Make Ahead: These mini pies can be prepared in advance, allowing you to enjoy more time with your guests.
Preparation Time and Servings
- Total Time: 1 hour (20 minutes prep, 40 minutes baking)
- Servings: This recipe makes about 12 mini pies.
- Nutrition Facts: Calories per pie: 150, Protein: 2g, Carbs: 20g, Fat: 7g.
Ingredients
- 1 pre-made pie crust: The base for your mini pies—store-bought for convenience or homemade if you prefer.
- 1 cup canned pumpkin puree: The star ingredient that provides rich flavor and texture.
- ½ cup sweetened condensed milk: Adds creaminess and sweetness.
- 1 large egg: Binds the filling together and helps set the filling during baking.
- ½ teaspoon ground cinnamon: Essential for that classic pumpkin pie flavor.
- ¼ teaspoon ground nutmeg: Adds warmth and depth to the flavor profile.
- ¼ teaspoon salt: Enhances all the flavors.
- Optional: Whipped cream or pecans for garnish, which can elevate the presentation and taste.
Step-by-Step Instructions
STEP 1: PREHEAT THE OVEN
Preheat your oven to 350°F (175°C). This ensures even baking for your mini pies and helps create that golden crust everyone loves.
STEP 2: PREPARE THE CRUST
Roll out the pie crust on a floured surface to avoid sticking. Use a round cutter (about 3-4 inches in diameter) to cut circles from the dough. Place the circles into a greased muffin tin, gently pressing them into the bottom and up the sides. This step is crucial for forming a perfect shell that will hold the filling.
STEP 3: MAKE THE FILLING
In a mixing bowl, combine the pumpkin puree, sweetened condensed milk, egg, cinnamon, nutmeg, and salt. Whisk until smooth and well combined. Taste the filling and adjust spices as desired. Some might prefer a little more nutmeg or cinnamon, while others may want a touch of vanilla extract for additional flavor.
STEP 4: FILL THE CRUSTS
Carefully pour the pumpkin filling into each pie crust, filling them about ¾ full to allow for slight rising while baking. It’s important not to overfill to prevent the filling from bubbling over during baking, which can make for a messy cleanup.
STEP 5: BAKE
Place the muffin tin in the preheated oven and bake for 25-30 minutes, or until the filling is set and a toothpick inserted in the center comes out clean. Keep an eye on the mini pies during the last few minutes of baking to prevent over-browning. The edges of the crust should be a lovely golden brown.
STEP 6: COOL
Once baked, remove the mini pies from the oven and let them cool in the muffin tin for about 10 minutes. Then, carefully transfer them to a wire rack to cool completely. This cooling step is crucial as it allows the filling to set properly.
STEP 7: SERVE
Serve the mini pumpkin pies warm or at room temperature. Top with whipped cream or sprinkle with pecans for an extra festive touch. Consider serving them on a decorative platter to enhance the presentation.
How to Serve
Garnish
Add a dollop of whipped cream or a sprinkle of cinnamon on top for a classic touch. You could also consider caramel sauce or chocolate drizzle for those who like a little extra sweetness.
Serve with Drinks
Pair these pies with coffee, spiced cider, or a festive cocktail for a delightful experience. The warm spices in the pies complement the flavors in many holiday drinks.
Add a Scoop
Consider serving them alongside a scoop of vanilla ice cream for a delicious contrast in texture and temperature.
Additional Tips
- Use Quality Ingredients: Opt for pure pumpkin puree rather than pumpkin pie filling for better control over sweetness and spices. Freshly made pumpkin puree can also elevate the flavor profile if you have the time.
- Don’t Overfill: Fill the crusts about ¾ full to prevent spilling during baking. If you’re unsure, it’s better to underfill slightly than to risk a messy pie.
- Chill the Dough: If making your own crust, chill it before rolling out for easier handling and a flakier texture once baked.
- Experiment with Spices: Feel free to add a pinch of ginger or cloves for a spicier flavor. You can also try a spice blend like pumpkin pie spice for convenience.
- Storage: Leftover mini pumpkin pies can be stored in an airtight container in the fridge for up to 3 days. For best results, consume them within the first couple of days for maximum freshness.
Recipe Variations
Gluten-Free Option
Use a gluten-free pie crust to make this recipe suitable for gluten-sensitive guests. There are several excellent store-bought options, or you can make your own using almond flour or other gluten-free flours.
Dairy-Free Version
Substitute the sweetened condensed milk with coconut milk or almond milk for a dairy-free option. You may want to add a bit of sugar or maple syrup to compensate for the less sweet alternative.
Add Chocolate
Stir in mini chocolate chips to the filling for a delicious twist that adds richness. This combination can be particularly appealing to chocolate lovers.
Use Different Sweeteners
Instead of sweetened condensed milk, you can use maple syrup or honey for a natural sweetener. Adjust the quantity based on your preference for sweetness.
Incorporate Nuts
Chopped pecans or walnuts can be mixed into the filling for added texture and flavor. Toasting the nuts lightly before adding them can enhance their flavor.
Serving Suggestions
Side Dishes
Serve alongside a seasonal salad or a cheese platter for a well-rounded dessert table. Consider offering a variety of cheeses, fruits, and nuts to complement the flavors of the mini pies.
Beverage Pairing
Offer hot cocoa, apple cider, or a holiday-themed cocktail to complement the flavors. A light white wine, such as Riesling, can also pair beautifully with the sweetness of the pies.
Kid-Friendly Options
For a family-friendly approach, consider serving the mini pumpkin pies sliced over buttered noodles or with a scoop of ice cream. Kids often enjoy sweet treats, and this can make for an appealing presentation.
Freezing and Storage
Storage
Leftover mini pumpkin pies can be stored in the refrigerator for up to 3 days. Keep them in an airtight container to maintain freshness and prevent them from absorbing any odors.
Freezing
Wrap individual pies tightly and freeze for up to 2 months. To freeze, place them in a single layer in a freezer-safe container. Thaw in the fridge before serving.
Reheating
To reheat, place the mini pies in the oven at 350°F (175°C) for about 10-15 minutes to warm through. Cover with foil to keep them from browning too much. You can also use a microwave, but the oven will help maintain the crust’s texture.
Special Equipment
- Muffin Tin: Essential for shaping the mini pies.
- Rolling Pin: Useful for rolling out the dough evenly.
- Mixing Bowl: For combining the filling ingredients.
- Whisk: To ensure the filling is smooth and well blended.
- Baking Sheet: For catching any drips from the muffin tin while baking.
FAQ Section
Can I use fresh pumpkin instead of canned?
Yes, just make sure to cook and puree the pumpkin until smooth. Fresh pumpkin can provide a deeper flavor, but it requires extra time and effort.
How can I make these mini pies ahead of time?
You can prepare the filling and crusts a day in advance, then assemble and bake the day of serving. Alternatively, you can bake them and store them in the fridge, reheating just before serving.
Can I double the recipe?
Absolutely! Just ensure you have enough muffin tins or bake them in batches. Doubling the recipe is a great idea for larger gatherings.
What can I use instead of sweetened condensed milk?
You can use evaporated milk with
a little added sugar for a similar sweetness. Make sure to adjust the sugar to your liking.
Can I add nuts to the filling?
Definitely! Chopped pecans or walnuts can add a nice crunch. You could also sprinkle some nuts on top as a garnish.
Conclusion
I hope you’re excited to try these Mini Pumpkin Pies! They’re a perfect blend of flavors and a fun twist on a classic dessert, making them a delightful addition to your Thanksgiving table. Whether for a festive gathering or a cozy family dinner, these treats are sure to impress.
Don’t forget to share your creations! I can’t wait to see how your mini pies turn out—be sure to leave a comment or tag me on social media. Happy baking!
Print
Mini Pumpkin Pies: A Thanksgiving Treat
- Total Time: 1 hour
Description
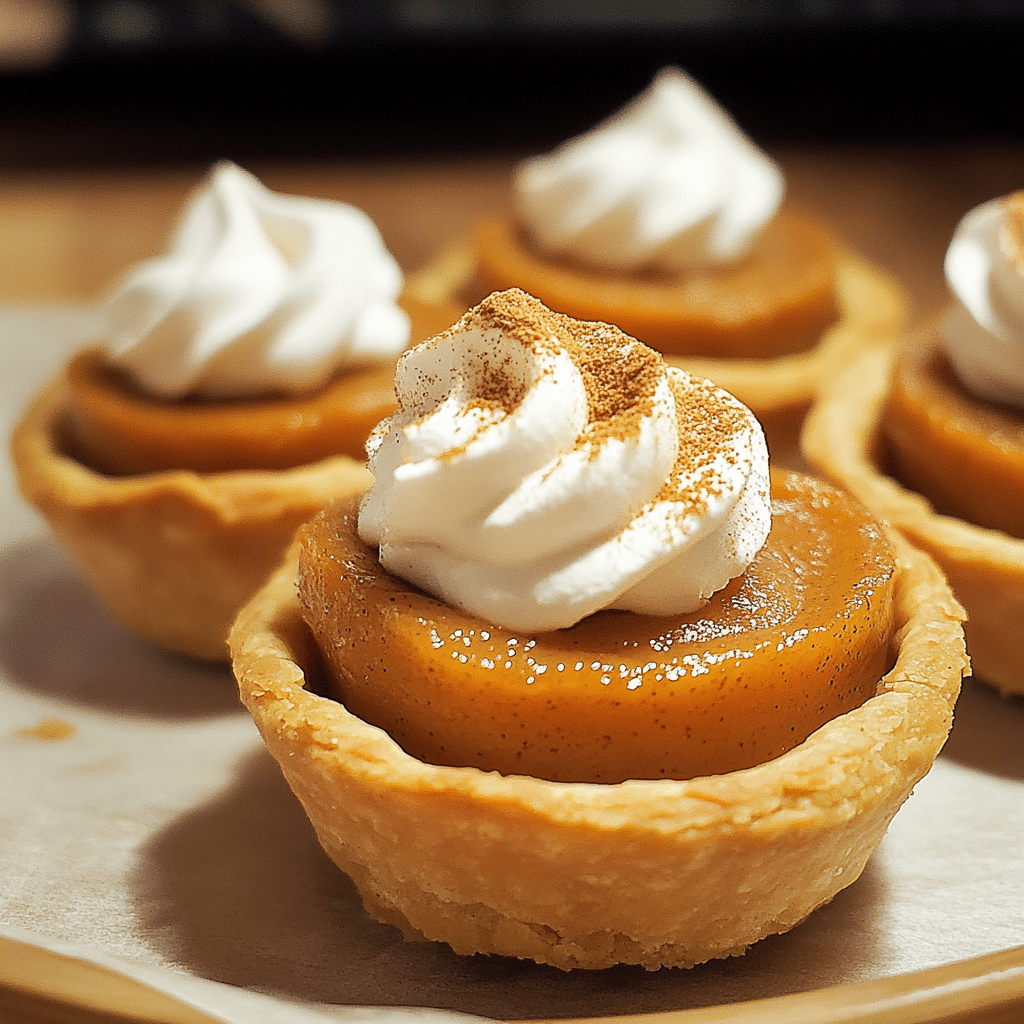
Savor the festive flavors of fall with these delightful Mini Pumpkin Pies. Perfectly portioned in individual servings, each pie features a smooth and spiced pumpkin filling encased in a buttery crust. Ideal for gatherings, these treats are not only easy to make but also add a charming touch to your dessert table, ensuring everyone gets their own slice of pumpkin goodness!
Ingredients
- 1 pre-made pie crust: The base for your mini pies—store-bought for convenience or homemade if you prefer.
- 1 cup canned pumpkin puree: The star ingredient that provides rich flavor and texture.
- ½ cup sweetened condensed milk: Adds creaminess and sweetness.
- 1 large egg: Binds the filling together and helps set the filling during baking.
- ½ teaspoon ground cinnamon: Essential for that classic pumpkin pie flavor.
- ¼ teaspoon ground nutmeg: Adds warmth and depth to the flavor profile.
- ¼ teaspoon salt: Enhances all the flavors.
- Optional: Whipped cream or pecans for garnish, which can elevate the presentation and taste.
Instructions
STEP 1: PREHEAT THE OVEN
Preheat your oven to 350°F (175°C). This ensures even baking for your mini pies and helps create that golden crust everyone loves.
STEP 2: PREPARE THE CRUST
Roll out the pie crust on a floured surface to avoid sticking. Use a round cutter (about 3-4 inches in diameter) to cut circles from the dough. Place the circles into a greased muffin tin, gently pressing them into the bottom and up the sides. This step is crucial for forming a perfect shell that will hold the filling.
STEP 3: MAKE THE FILLING
In a mixing bowl, combine the pumpkin puree, sweetened condensed milk, egg, cinnamon, nutmeg, and salt. Whisk until smooth and well combined. Taste the filling and adjust spices as desired. Some might prefer a little more nutmeg or cinnamon, while others may want a touch of vanilla extract for additional flavor.
STEP 4: FILL THE CRUSTS
Carefully pour the pumpkin filling into each pie crust, filling them about ¾ full to allow for slight rising while baking. It’s important not to overfill to prevent the filling from bubbling over during baking, which can make for a messy cleanup.
STEP 5: BAKE
Place the muffin tin in the preheated oven and bake for 25-30 minutes, or until the filling is set and a toothpick inserted in the center comes out clean. Keep an eye on the mini pies during the last few minutes of baking to prevent over-browning. The edges of the crust should be a lovely golden brown.
STEP 6: COOL
Once baked, remove the mini pies from the oven and let them cool in the muffin tin for about 10 minutes. Then, carefully transfer them to a wire rack to cool completely. This cooling step is crucial as it allows the filling to set properly.
STEP 7: SERVE
Serve the mini pumpkin pies warm or at room temperature. Top with whipped cream or sprinkle with pecans for an extra festive touch. Consider serving them on a decorative platter to enhance the presentation.
- Prep Time: 20 minutes
- Cook Time: 40 minutes
Nutrition
- Calories: 150 kcal
- Fat: 7g
- Carbohydrates: 20g
- Protein: 2g


